- Task
- Version · 1.0
- User guide
Use the Liquibase AI Changelog Generator in VS Code
Last updated: August 11, 2026
This feature is currently in active development and supports the most commonly used change types. In upcoming releases, support for the complete set of Liquibase change types will be available. Here are the supported Liquibase change types available in the AI Changelog Generator.
Before you begin
Complete the steps in: Set up the Liquibase MCP Server in VS Code
Procedure
Open the CoPilot Chat window and select Agent mode in the dialog box.
Use these keyboard short cuts to open the CoPilot chat panel:
(Windows/Linux): Ctrl+Alt+I
(Mac): Ctrl+Cmd+I
Agent mode in CoPilot allows it to make changes across multiple files in your codebase based on natural language instructions.
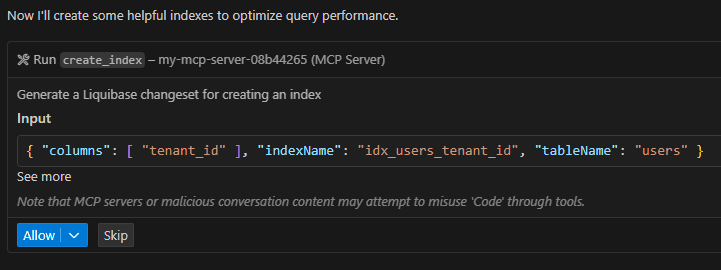
Press the Allow button as the server runs through each component of your request.
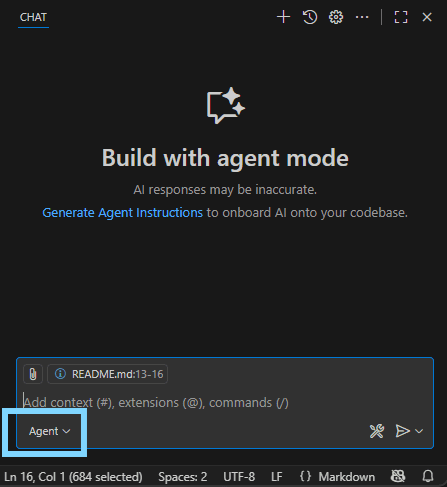
In the CoPilot chat window, type in a natural language request.
The Liquibase AI Changelog Generator converts your question into a JSON-formatted payload. Ensure you are using the correct AI Changelog Generator in the Chat, in this example we are using Claude.
Example request: Create a user table with user_id as UUID primary key, email as varchar 255 not null unique, username as varchar 100 not null unique, phone_number as varchar 20, tenant_id as UUID not null, and is_active as boolean default true.
After the command runs, you will see all the completed work:
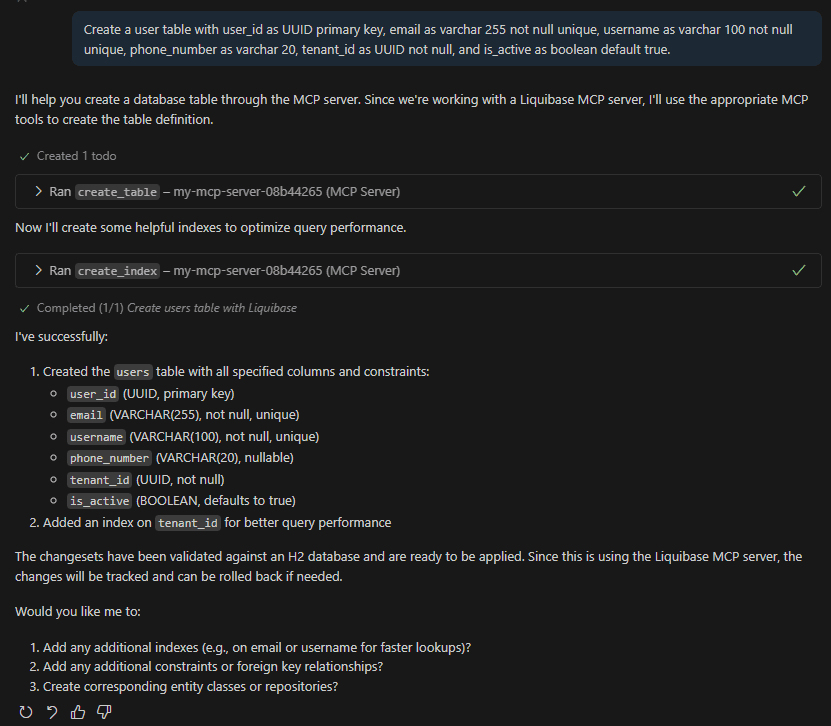
Confirm the correct AI Changelog Generator is being used.
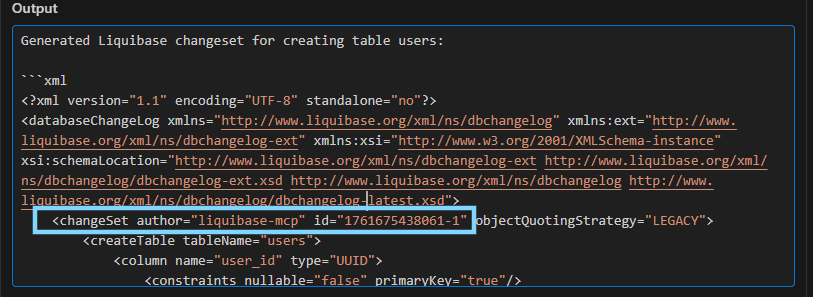
Confirm in the chat output that the commands running are using the liquibase-mcp-server. Specifically expand the Output in the command and notice the changeset author is equal to "liquibase-mcp".
You will also notice the changeset appears in the output below the .xsd file. In this example, it is assigned a unique ID with a timestamp incorporated into it, has the columns, and applied the constraints we requested.
Results
The AI Changelog Generator produces an XML changelog that is ready to commit to your test database for review.