Connect Liquibase with Databricks SQL
Last updated: July 14, 2025
A data lakehouse is a new, open data management architecture that combines the flexibility, cost-efficiency, and scale of data lakes with the data management and ACID transactions of data warehouses, enabling business intelligence (BI) and machine learning (ML) on all data.
The lakehouse architecture and Databricks SQL bring cloud data warehousing capabilities to your data lakes. Using familiar data structures, relations, and management tools, you can model a highly-performant, cost-effective data warehouse that runs directly on your data lake.
For more information on Databricks, see the Databricks website.
Before you begin
Ensure you have Java installed. Liquibase requires Java to run. If you used the Liquibase Installer, Java is included automatically. Otherwise, you must install Java manually.
If you use Liquibase Pro, or a Liquibase Pro extension, confirm that you have a valid license key.
Procedure
Set up databricks.
1. Create a Databricks account and workspace.
If you don't already have a Databricks account and workspace, follow the Databricks Getting Started instructions.
2. If you are an administrator, set up your Databricks permissions to ensure these privilege presets are selected to successfully use Liquibase commands and features with Databricks:
Prerequisite
USE SCHEMA
Metadata
APPLY TAG
Read
READ VOLUME
SELECT
Edit
MODIFY
WRITE VOLUME
Create
CREATE FUNCTION
CREATE MATERIALIZED VIEW
CREATE MODEL
CREATE TABLE
CREATE VOLUME
Check this box if you need to work with external engines:
EXTERNAL USE SCHEMA
Check this box if you need to manage permissions:
MANAGE
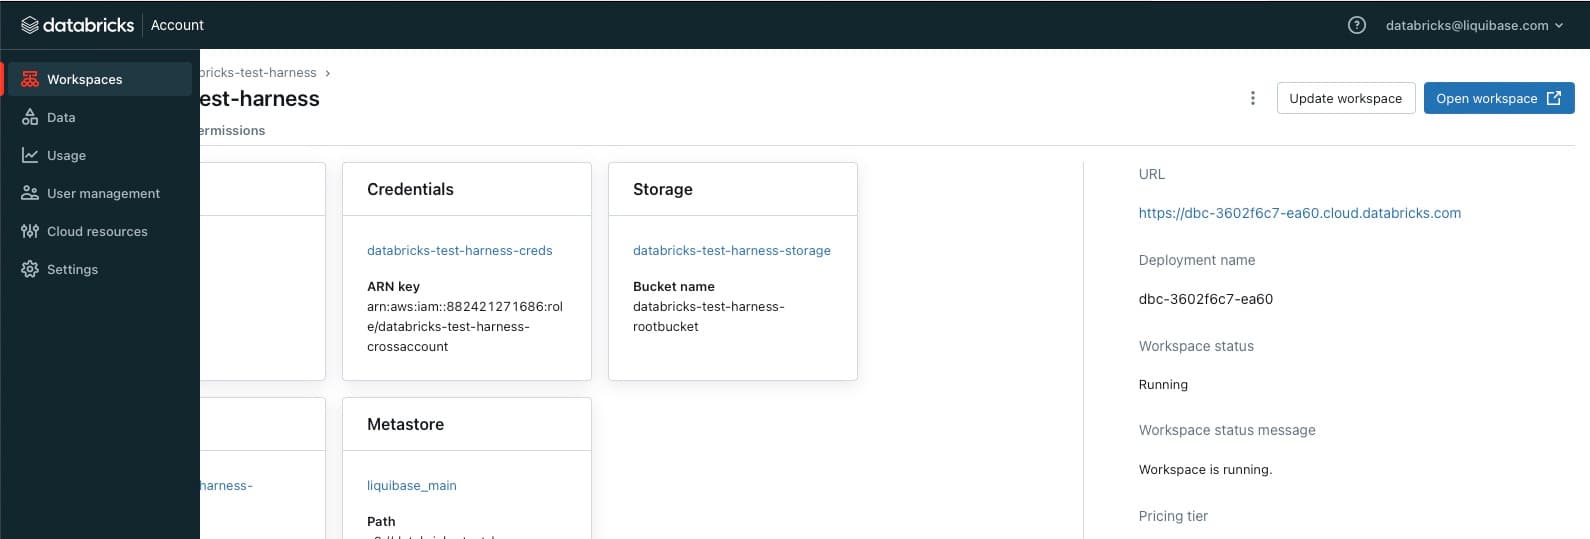
3. Navigate to your Workspaces tab and select Open Workspace in the upper right of the page.
4. Create a SQL Warehouse.
If you don't have a SQL Warehouse set up, follow the Databricks instructions on Creating a SQL Warehouse.
5. Create a catalog.
If you don't already have a catalog setup, follow the Databricks instructions on Create and Manage Catalogs.
6. In the left navigation, select SQL Editor.
Enter your SQL to create your database (also called a schema), and select Run.
CREATE DATABASE IF NOT EXISTS <catalog_name>.<database_name>;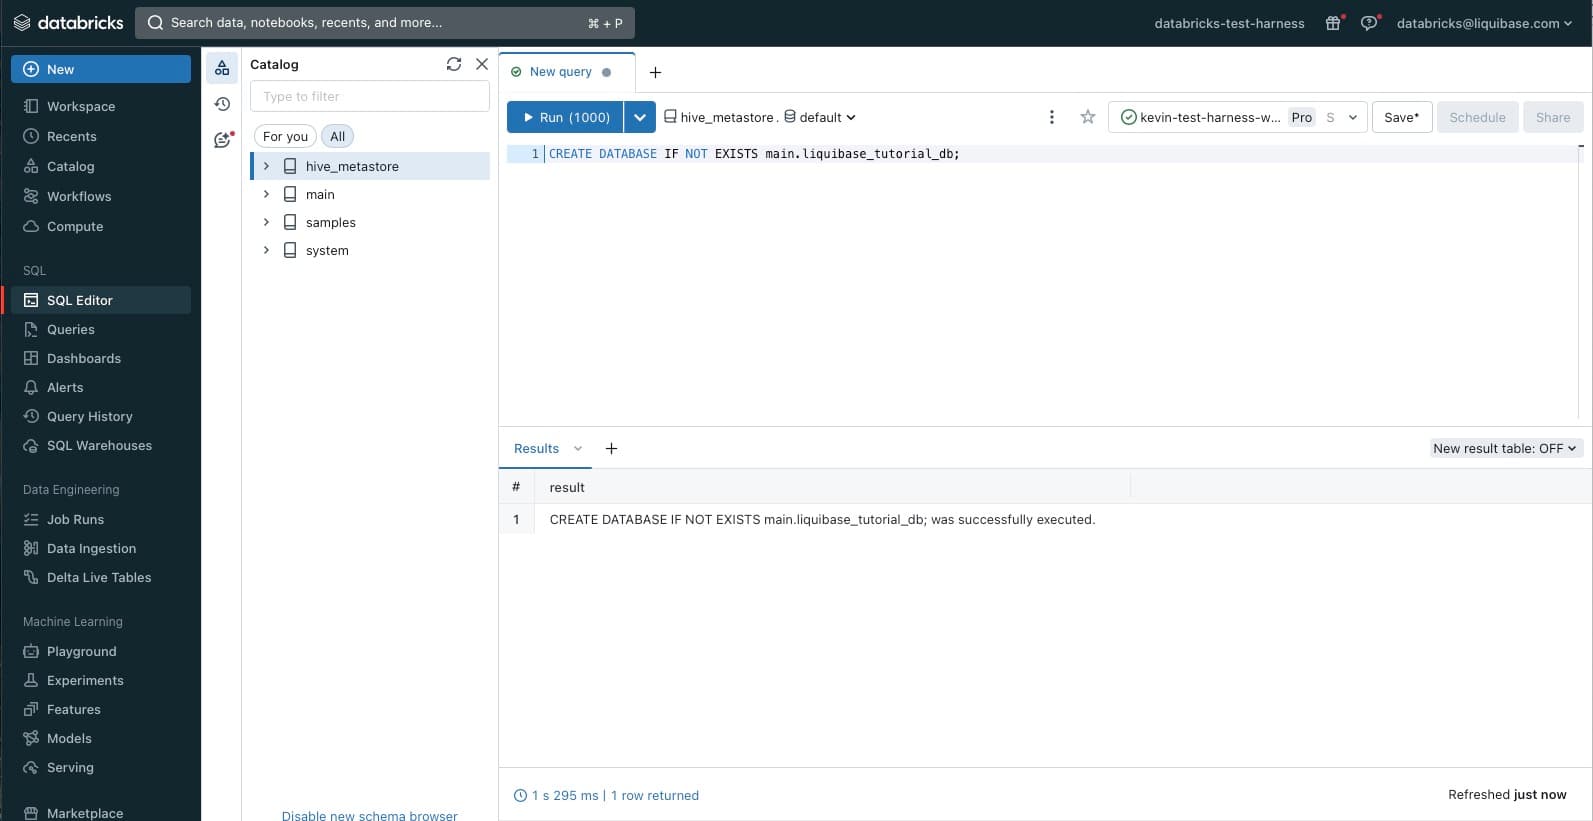
Install drivers.
Databricks Pro Extension users
Download the Liquibase Pro Databricks extension (liquibase-commercial-databricks-<version>.jar) from Maven Central.
You do not need need to install a separate JDBC driver. We have included one in liquibase-commercial-databricks.jar.
However, to avoid conflicts between different JDBC driver versions, we recommend that you delete the DatabricksJDBC42.jar or databricks-jdbc-<version>.jar from the Liquibase classpath(liquibase/lib, liquibase/internal/lib liquibase/internal/extensions folders).
Note: If you are running your project on MacOS or Linux, you might need to run the following command in your terminal (you can add it to your Bash profile as well) to allow the dependencies to work properly: export JAVA_OPTS=--add-opens=java.base/java.nio=ALL-UNNAMED
Databricks Open Source Extension users
1. Download the JAR files:
Download the Databricks JDBC driver (
DatabricksJDBC42-<version>.zip) from driver download site and unzip the folder to locate theDatabricksJDBC42.jarfile.(Liquibase Open Source users only) Download the Liquibase Open Source Databricks extension (
liquibase-databricks-<version>.jar) from the GitHub "Assets" listed at the end of the release notes or from Maven Central.
2. Place your JAR files in the <liquibase_install_dir>/lib directory:
DatabricksJDBC42.jarliquibase-databricks-<version>.jar
Note: If you are running your project on MacOS or Linux, you might need to run the following command in your terminal (you can add it to your Bash profile as well) to allow the dependencies to work properly: export JAVA_OPTS=--add-opens=java.base/java.nio=ALL-UNNAMED
Note for Maven users: If you're running Liquibase using the Maven plugin using mvn liquibase:update installing the extension with Maven ensures the right files are available and everything works together automatically. You can manage these extensions by adding them as dependencies in your project’s pom.xml file. When configured this way, Maven automatically downloads the specified JAR files from Maven Central during the build process.
Verify Installation
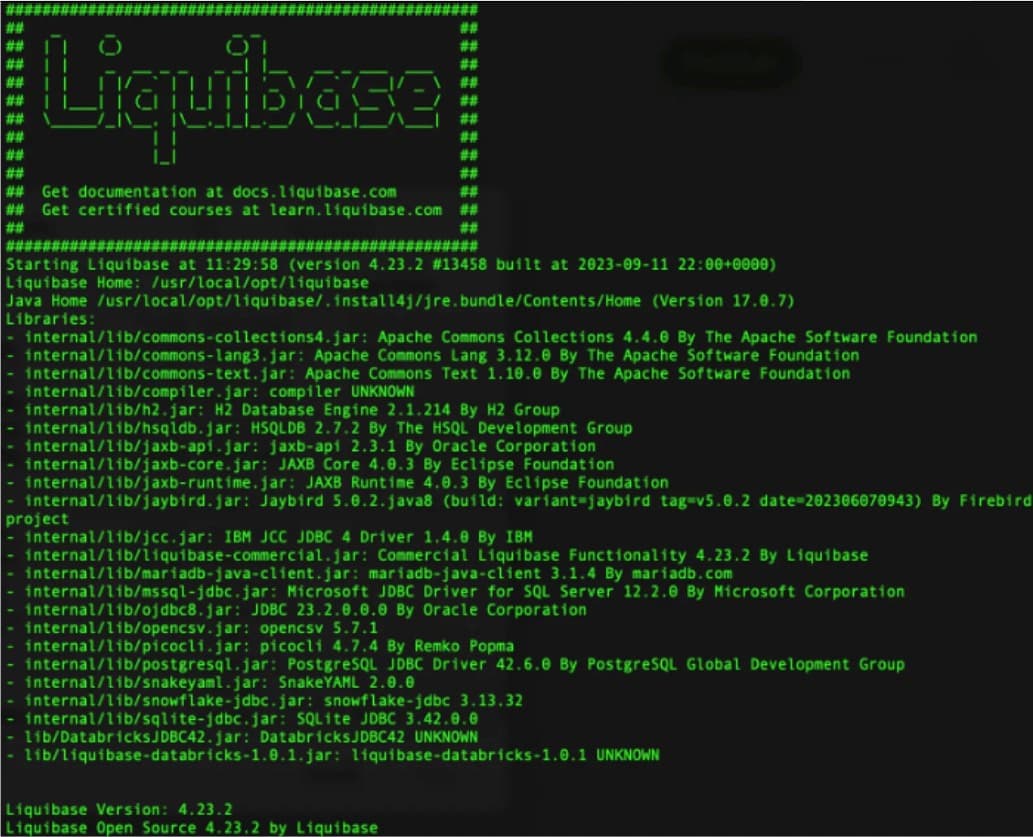
Run the following command to confirm you have successfully installed everything:
liquibase --version
Review the libraries listing output for the two newly installed jar files: DatabricksJDBC42-<version>.zip and liquibase-databricks-<version>.jar.
Configure Connection
Username and password example
1. Specify the database URL in the liquibase.properties file (defaults file), along with other properties you want to set a default value for. Liquibase does not parse the URL. You can either specify the full database connection string or specify the URL using your database's standard connection format:
liquibase.command.url: jdbc:databricks://<server_hostname>:443;AuthMech=3;httpPath=/sql/1.0/warehouses/<your_warehouse_id>;ConnCatalog=<your_catalog>;ConnSchema=<your_schema>;
Your base JDBC connection string can be found on the SQL Warehouses -> your_warehouse -> Connection details tab. For more information, see Databricks JDBC Driver.
Note: Starting with Databricks JDBC driver version 2.7.1, which was included in databricks-commercial 1.0.0, username/token authentication is no longer supported. If a token is included in the URL, configure the URl to contain UID=token. Before 2.7.1 it was possible to specify username/email in liquibase.command.username property and token in password property, now it’s not allowed.
2. Specify your username and password in the liquibase.properties file (defaults file):
The username, in our case is just "token" for the User or Service Principal you want to manage Liquibase.
# Enter the username for your Target database.
liquibase.command.username: token
This is the token for the User or Service Principal we want to authenticate. This is usually passed in dynamically using frameworks like GitActions + Secrets.
# Enter the password for your Target database.
liquibase.command.password: <your_token_here>
Tip: To find or set up your Databricks user token, first log into your Databricks workspace. Then select Settings > User > Developer > Access Token > "Manage".
OAuth M2M example
Note: The Liquibase Pro 1.0.0 extension for Databricks only supports OAuth M2M (machine-to-machine) authentication. Other OAuth authentication methods, including OAuth token support, are not supported. OAuth is not supported in the Liquibase Open Source extension.
1. Configure your properties file, environment variables, or command line parameters in the following format:
# Required parameters
liquibase.command.url: jdbc:databricks://<your_workspace_host_name>:443
liquibase.databricks.authMechanism=OAUTH
liquibase.databricks.oauth.clientId={clientIdValue}
liquibase.databricks.oauth.clientSecret={clientSecretValue}
liquibase.databricks.httpPath={httpPath}
2. (Optional) Specify the following parameters in your properties file, environment variables, or command line:
# Optional parameters
liquibase.databricks.schema={schemaName}
liquibase.databricks.catalog={catalogName}
liquibase.databricks.oauth.authFlow=1
Note: If you specify liquibase.databricks.oauth.authMechanism=OAUTH, by default Liquibase sets AuthMech=11; and Auth_Flow=1; in your connection URL. For more information, see Authentication settings for the Databricks ODBC Driver.
Test the Connection
1. Create a text file called changelog (.sql, .yaml, .json, or .xml) in your project directory and add a changeset.
If you have already created a changelog using the init project command, you can use that instead of creating a new file. When adding onto an existing changelog, be sure to only add the changeset and to not duplicate the changelog header.
SQL
--liquibase formatted sql
--changeset your.name:1
CREATE TABLE test_table (
  test_id INT NOT NULL,
  test_column INT,
  PRIMARY KEY (test_id) NOT ENFORCED
)2. Navigate to your project folder in the CLI and run the Liquibase status command to see whether the connection is successful:
liquibase status --username=test --password=test --changelog-file=<changelog.xml>
Note: You can specify arguments in the CLI or keep them in the Liquibase properties file.
If your connection is successful, you'll see a message like this:
4 changesets have not been applied to <your_connection_url>
Liquibase command 'status' was executed successfully.
3. Inspect the deployment SQL with the update-sql command:
liquibase update-sql --changelog-file=<changelog.xml>
If the SQL that Liquibase generates isn't what you expect, you should review your changelog file and make any necessary adjustments.
4. Execute these changes to your database with the update command.
liquibase update --changelog-file=<changelog.xml>
If your update is successful, Liquibase runs each changeset and displays a summary message ending with:
Liquibase: Update has been successful.
Liquibase command 'update' was executed successfully.
5. From a database UI tool, ensure that your database contains the test_table object you added along with the DATABASECHANGELOG table and DATABASECHANGELOGLOCK table.
Now you're ready to start deploying database changes with Liquibase!