Add Liquibase extensions with Maven
Last updated: July 13, 2026
Some Liquibase features and database types are not included in the core Liquibase distribution and require separate extensions. These extensions include database-specific integrations and JDBC drivers.
If you're running Liquibase using the Maven plugin using mvn liquibase:update, installing the extension with Maven ensures the right files are available and everything works together automatically. You can manually manage these extensions by adding them as dependencies in your project’s pom.xml file, or use the Liquibase Maven starter. When configured this way, Maven automatically downloads the specified JAR files from Maven Central during the build process.
You can manually manage these extensions by adding them as dependencies in your project’s pom.xml file, or use the Liquibase Starters to bundle Liquibase dependencies into your project. When configured manually or via the starters, Maven automatically downloads the specified JAR files from Maven Central during the build process.
Before you begin
Ensure java is installed on your computer. You can check if java is installed by running
java -versionin the CLI.Install Maven. No action is needed if you already have Maven installed for your project. If you do not have Maven installed, refer to the official Maven installation page.
Ensure your Maven project contains a POM file.
Procedure
Open your pom.xml file
This file defines your project's dependencies and plugins.
Add a new dependency into your POM.xml file
Start by pasting in a sample dependency structure. You’ll update thegroupId,artifactId, andversionin the next steps.
Find your extension on Maven Central
To locate the correct extension:
Check the database configuration articles in the Liquibase documentation
Search directly on Maven Central or MVN Repository
Update your groupId
The groupId is the reversed domain that identifies the provider of the dependency. For most Liquibase extensions, use:
<groupId>org.liquibase.ext</groupId>
For third-party dependencies (e.g., Oracle JDBC), you can often find the groupId in the page’s breadcrumb or URL.
For example:
Oracle:
com.oracle.databasePostgreSQL:
org.postgresql
In the example code, we've added the groupId org.liquibase.ext.
Update your artifactId
The artifactId corresponds to the name of the specific extension. You’ll typically find this in the last part of the URL on MVN Repository, or in the breadcrumb of the dependency page.
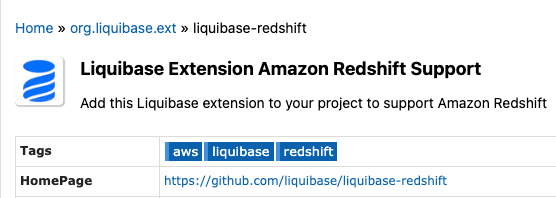
In this example, we are using the Liquibase extension for Amazon Redshift support.
Update your version
Set the version to the one you want to use. Available versions are listed on the extension’s Maven page.
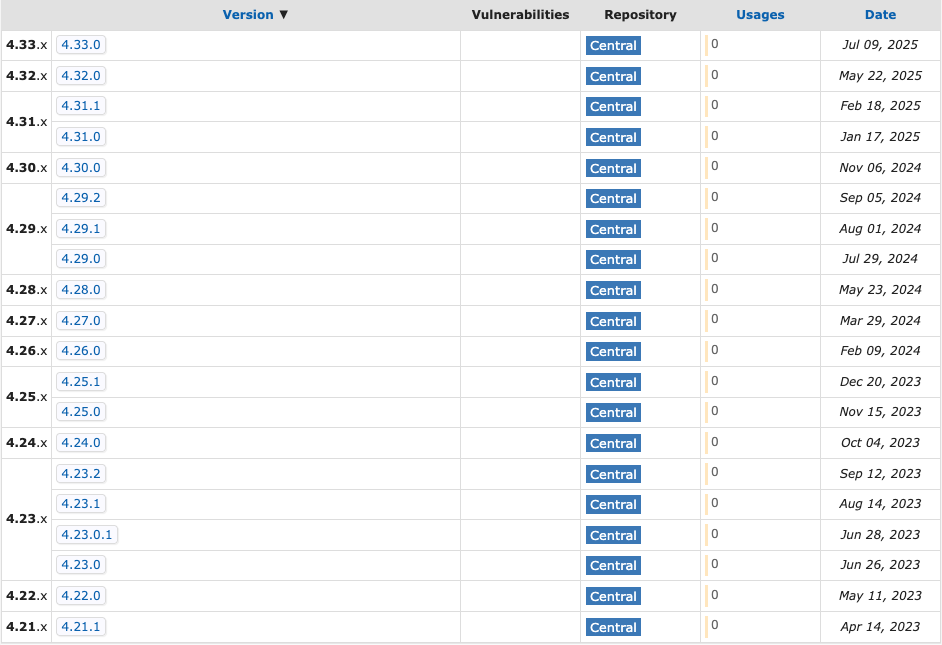
For example, if you're using version 4.33.0 of the Redshift extension:
Your dependency is now added! When you build or run your Maven project, the extension will be downloaded automatically and included in the classpath.