- Task
- Version · 6.0
- Manage
Manage groups
Last updated: September 29, 2026
Groups are how you give people access. Create one per team or role, add members, and grant it access with a permission template.
Before you begin
You must be a member of the Administrators group. The account that set up the server is a member. See Manage users and access for how groups, templates, and assignments fit together.
Procedure
Open the groups list
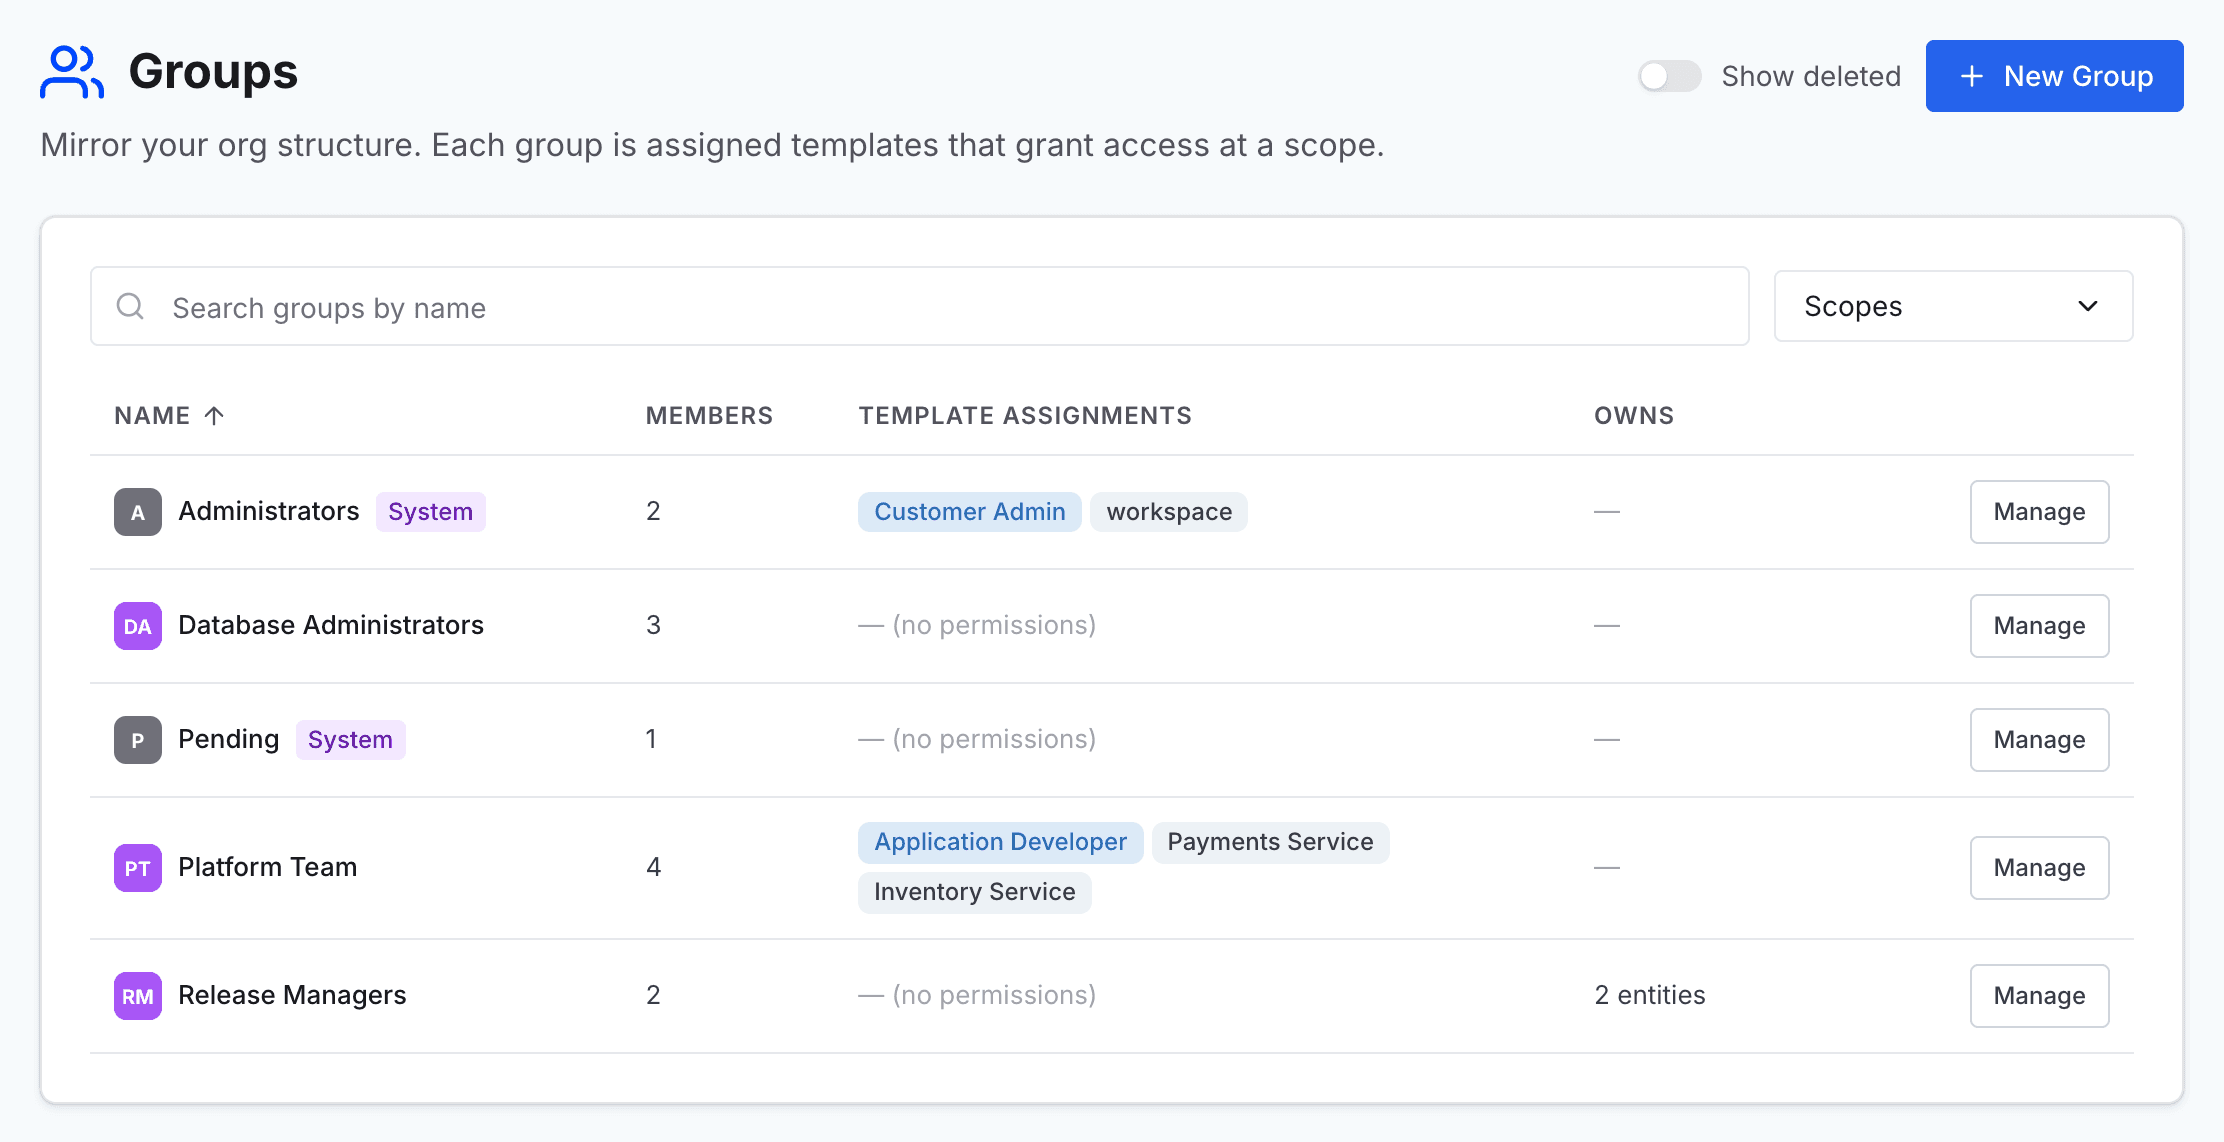
Go to Groups. Each row shows a group, its members, and the templates it holds.
Note: Two system groups are there from the start and cannot be renamed or deleted. Administrators carries the Customer Admin template. Pending holds users awaiting assignment and can never be granted permissions. The groups you create sit alongside them.
Create the group
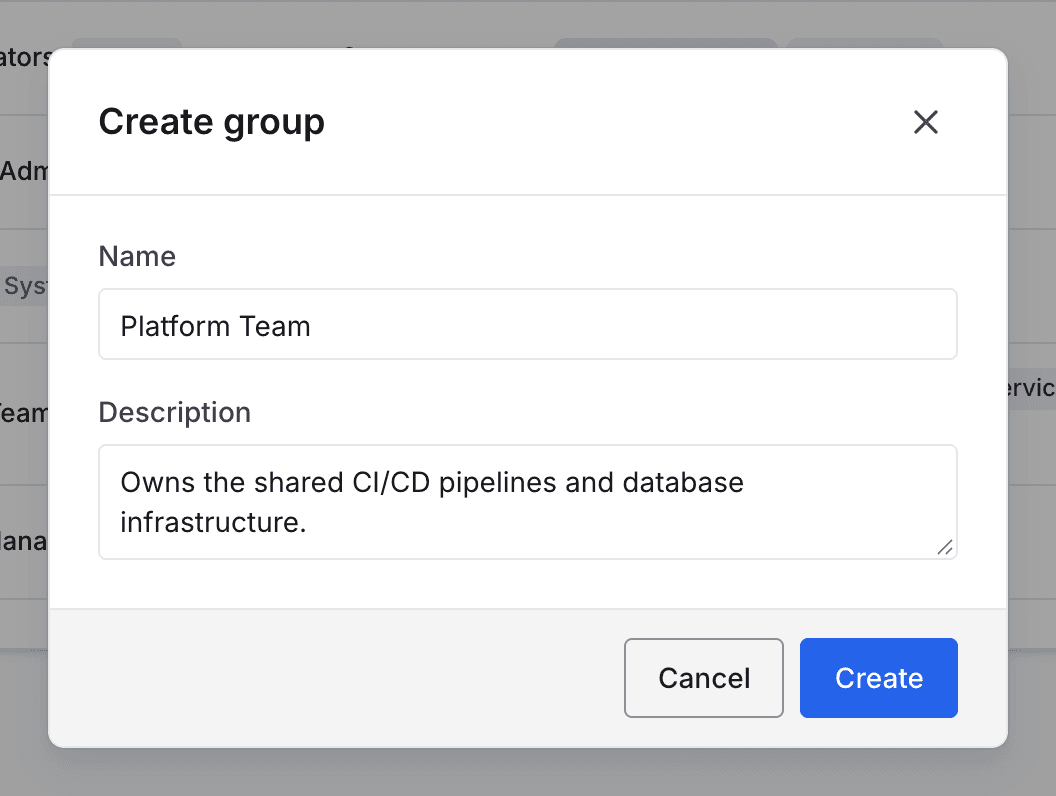
Select New Group. The dialog opens as Create group. Name it after the team or role that will hold it, for example Platform Team. A description is optional.
Select Create. The group is created with no members and no access.
Add members
Open the group. Add the people who should have its access.
A person can belong to several groups at once. What their groups grant is combined, and the most permissive result wins. The exception is a direct deny, which can name a group. Adding someone to a group that is denied a permission on an entity removes that permission there, unless a direct grant restores it. Denies never apply to members of the Administrators group.
Rename or delete the group
Use the rename and delete actions on the group's row in the list.
A group cannot be deleted while it is the only owner of something. The server lists what it owns and offers to transfer ownership before the delete can go ahead. Transfer those items to another group or person, then delete.
Note: Deleting a group removes the access it granted. Anyone whose only route to a permission was that group loses it.