- Concept
- Version · 6.0
- Manage
Invite and manage users in Liquibase Secure server
Last updated: September 29, 2026
Users & Access is where you bring people into the workspace, give them access through groups, and deactivate them when they leave. You must be a member of the Administrators group to manage users. The account that set up the server is a member.
Find a user
Go to Administer and select Users & Access.
The list covers everyone in the workspace. Use the All, Active, Pending, and Deactivated tabs to filter by state. You can also search by name or email, and filter by group or by sign-in method.
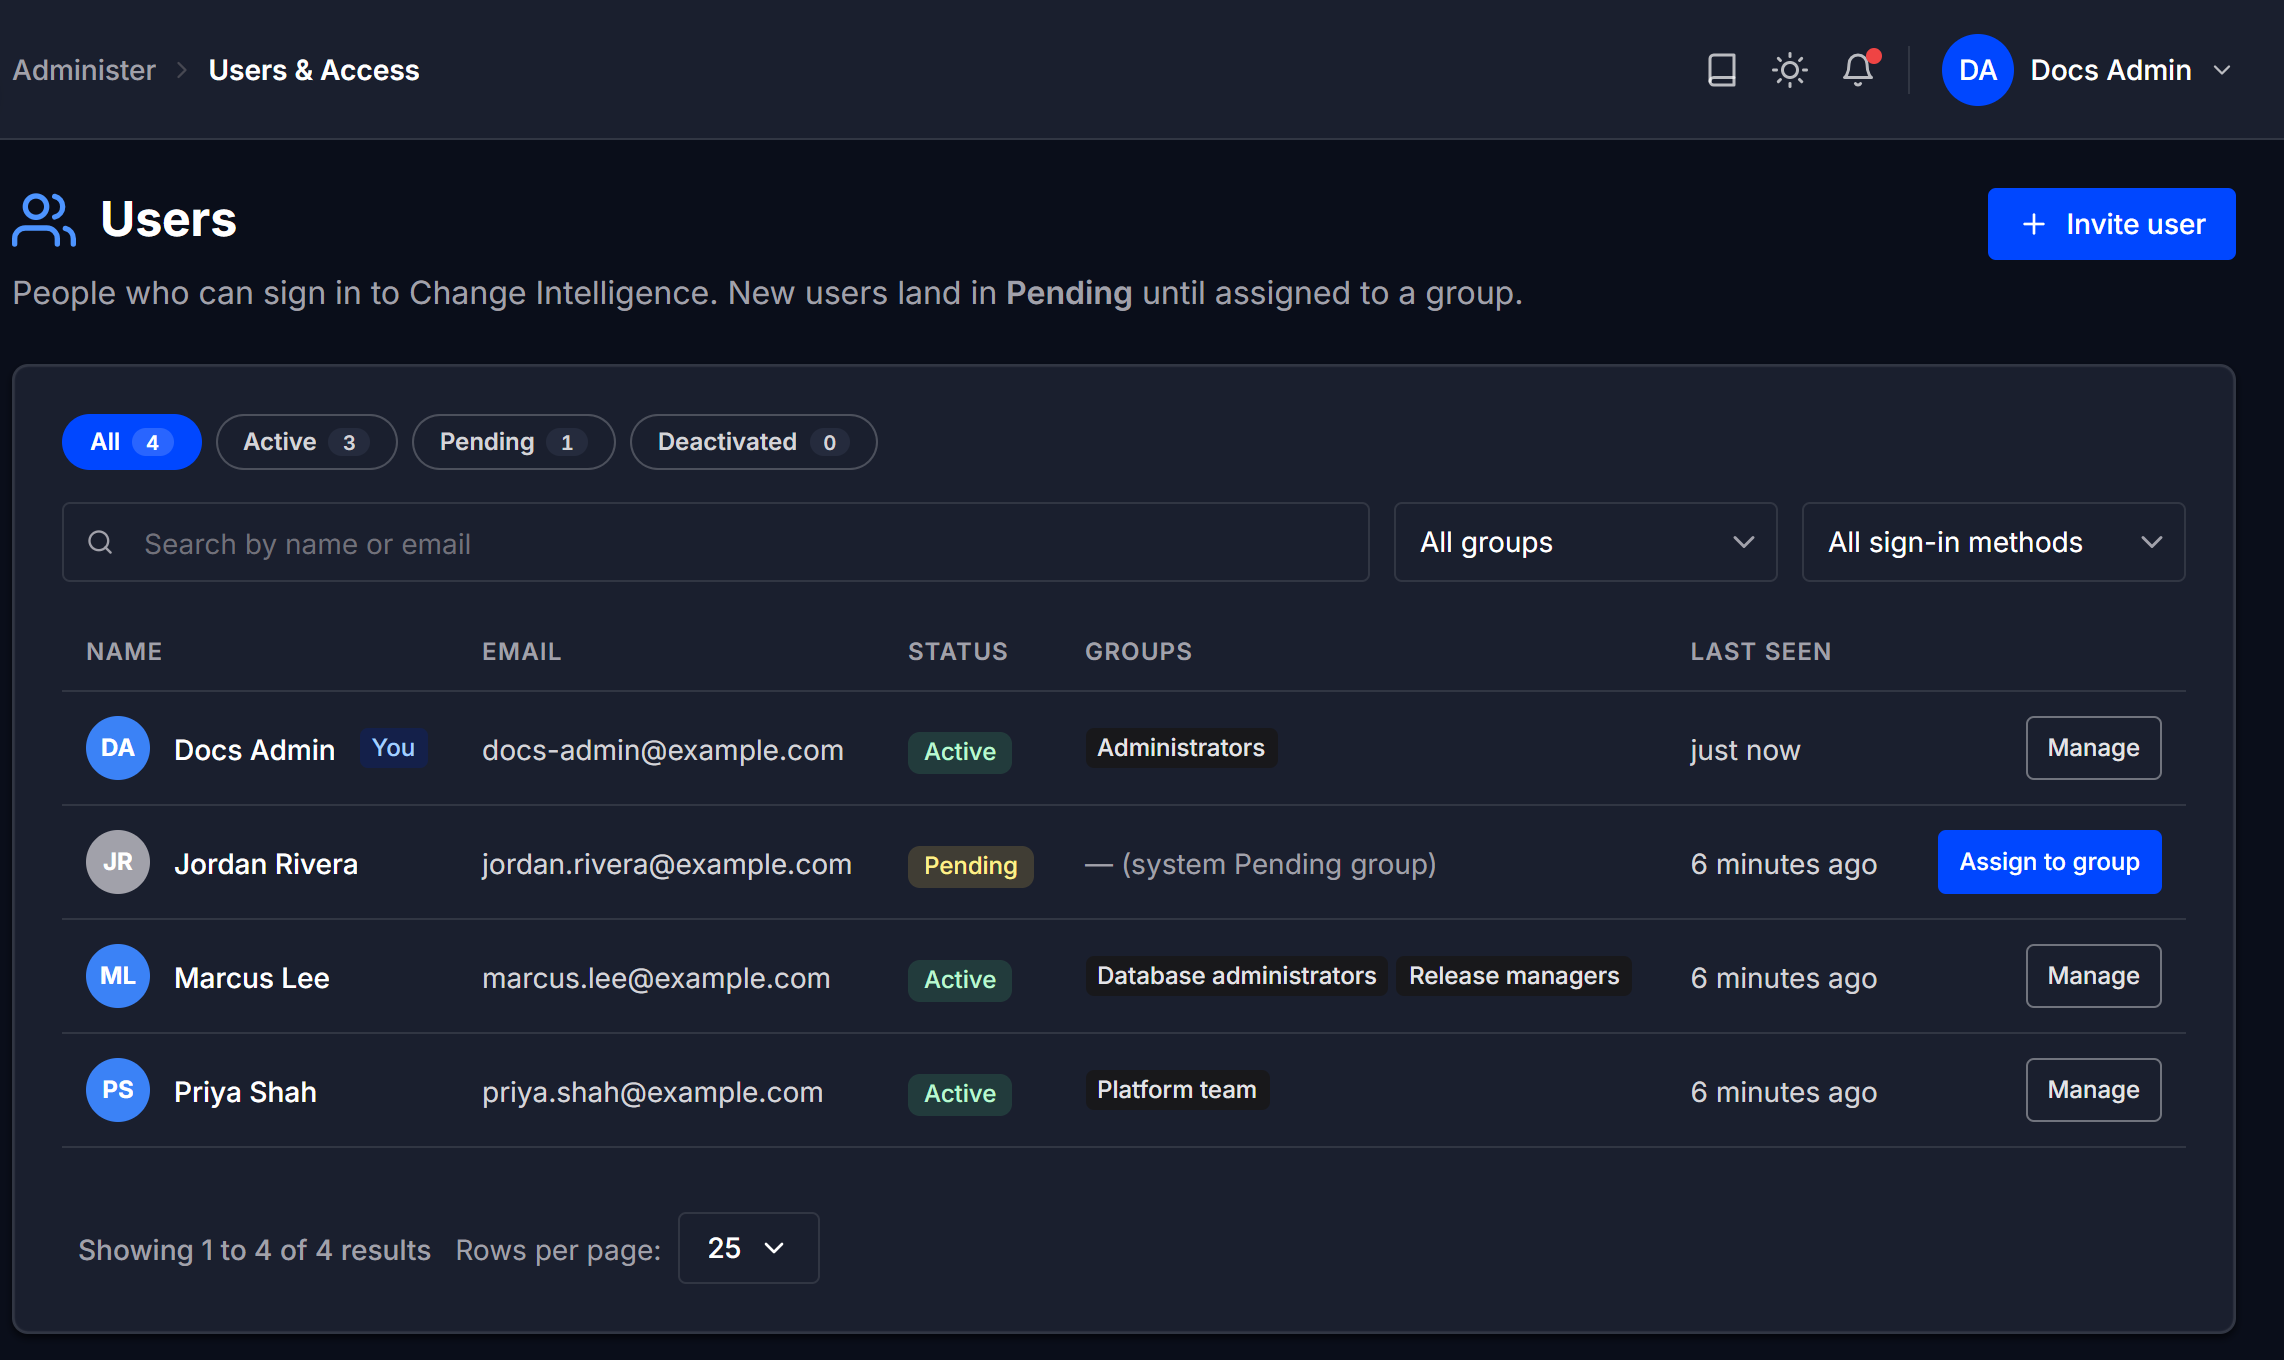
Sign-in method filters by family rather than by a single provider, so Entra matches any Microsoft Entra provider registered for the workspace.
Invite a user
Select Invite user and fill in the dialog:
Full name and Email address identify the person.
Groups is optional and assigns their starting access.
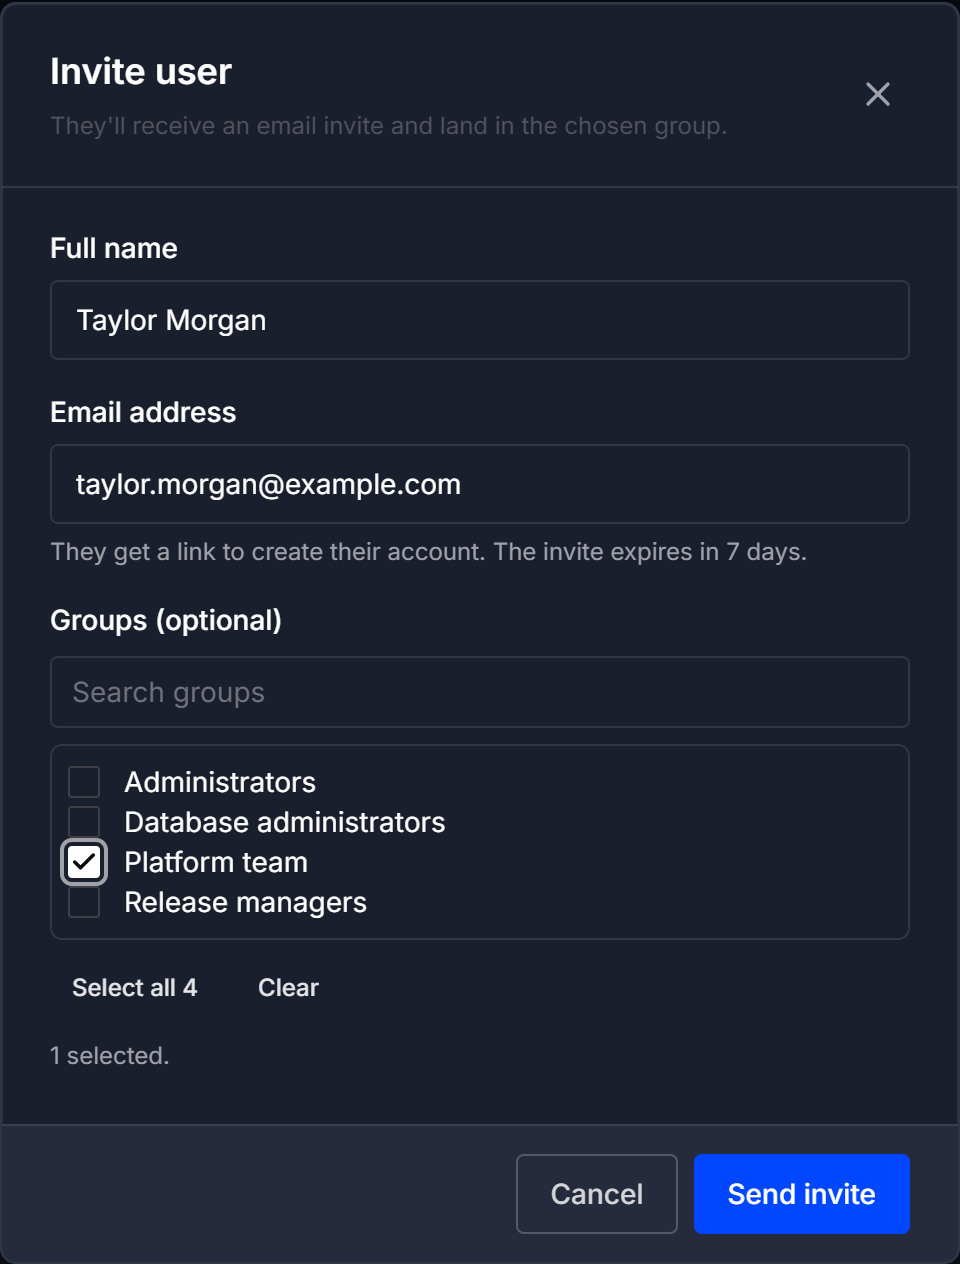
Select Send invite. The person receives a link to create their account. The invite expires in 7 days.
If single sign-on is enabled, the person can sign in with it at the invited address instead. They join the groups you chose on their first sign-in.
Note: Decide which groups a new person should join before you invite them, and assign at least one if you want them productive immediately. With no groups they land in the Pending group, which grants nothing, until someone assigns them.
The invitation appears under Pending invitations on the Users page until it is accepted. From there you can select Resend, or select Revoke so the link no longer works.

Change a user's groups
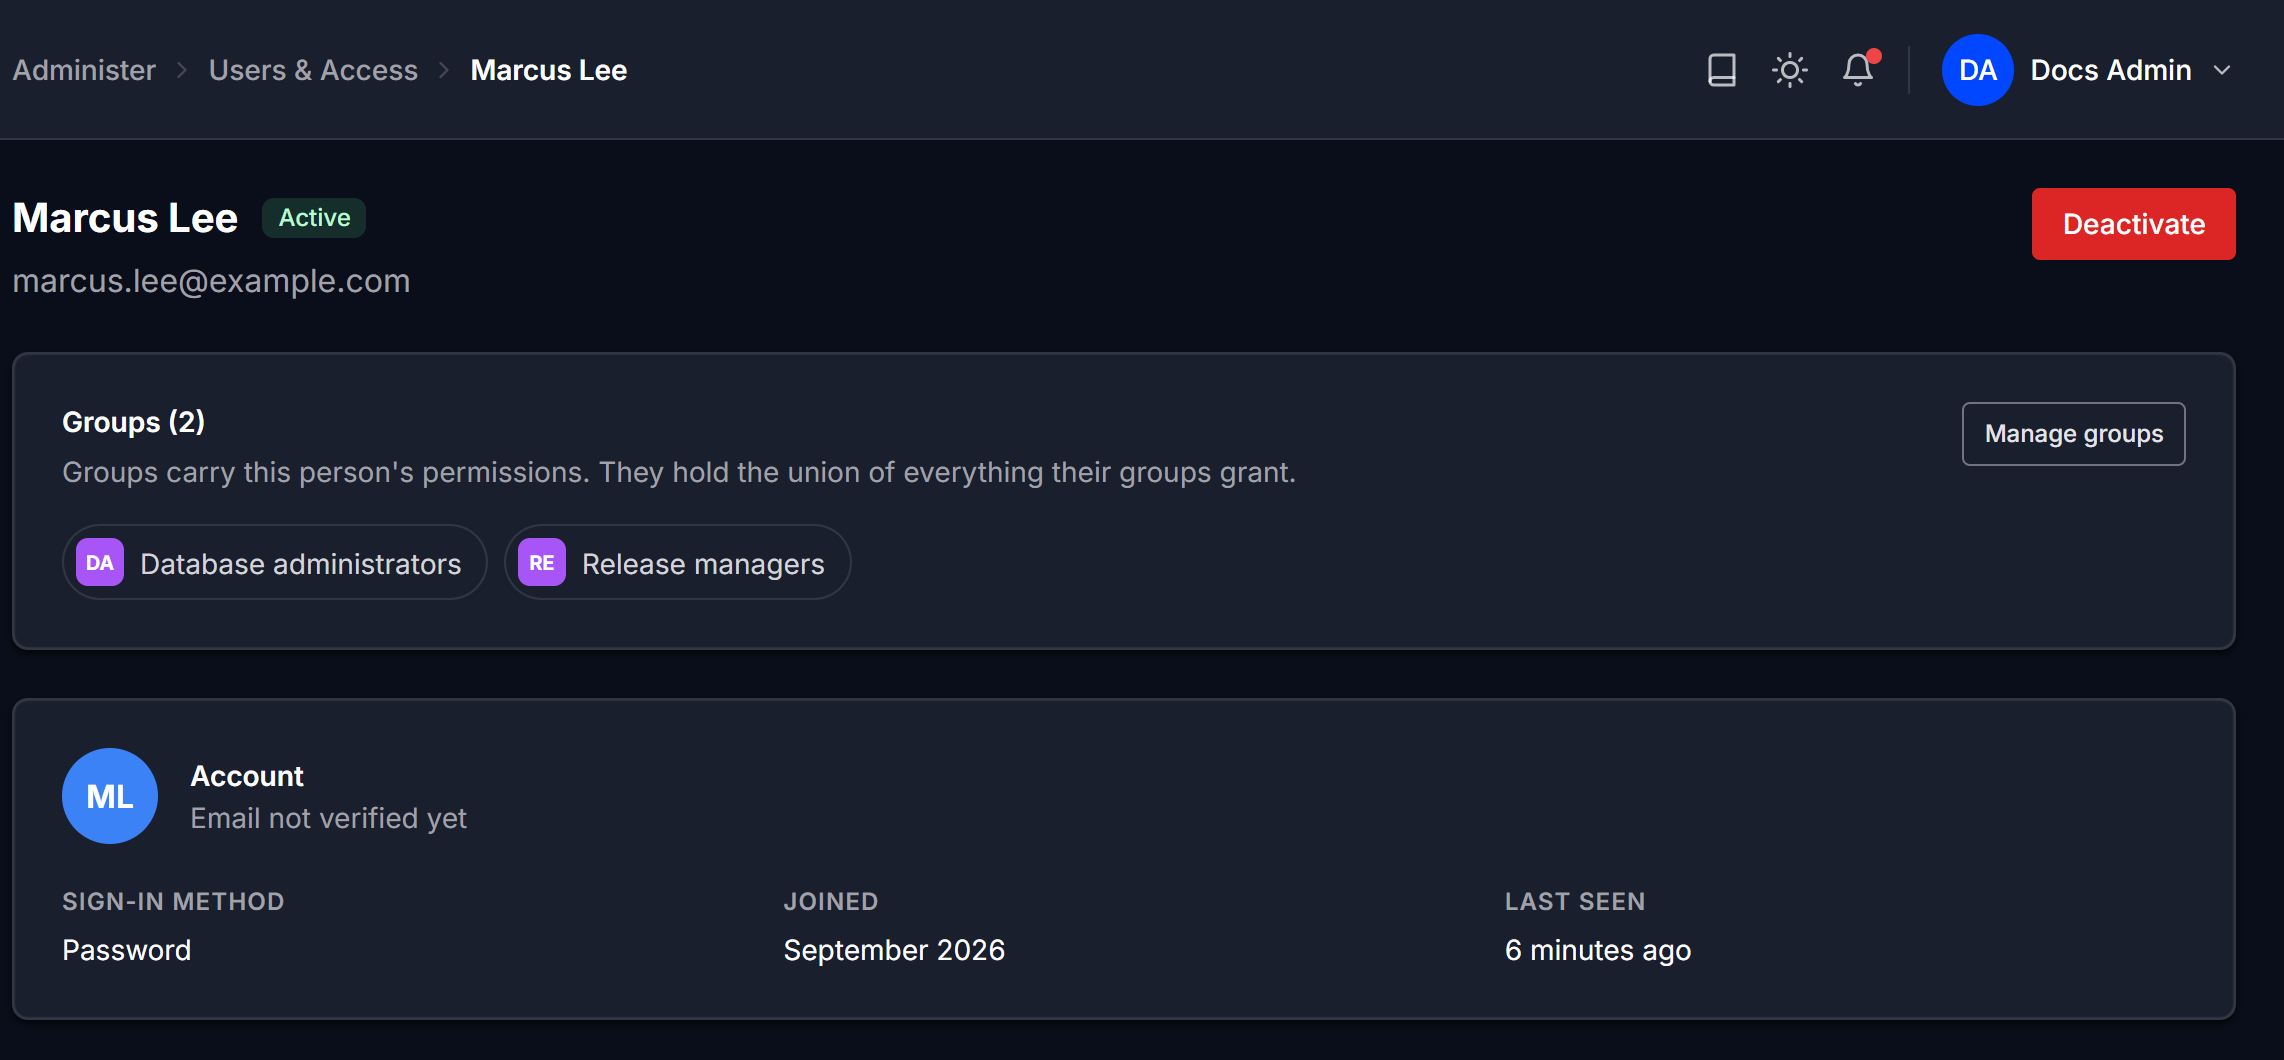
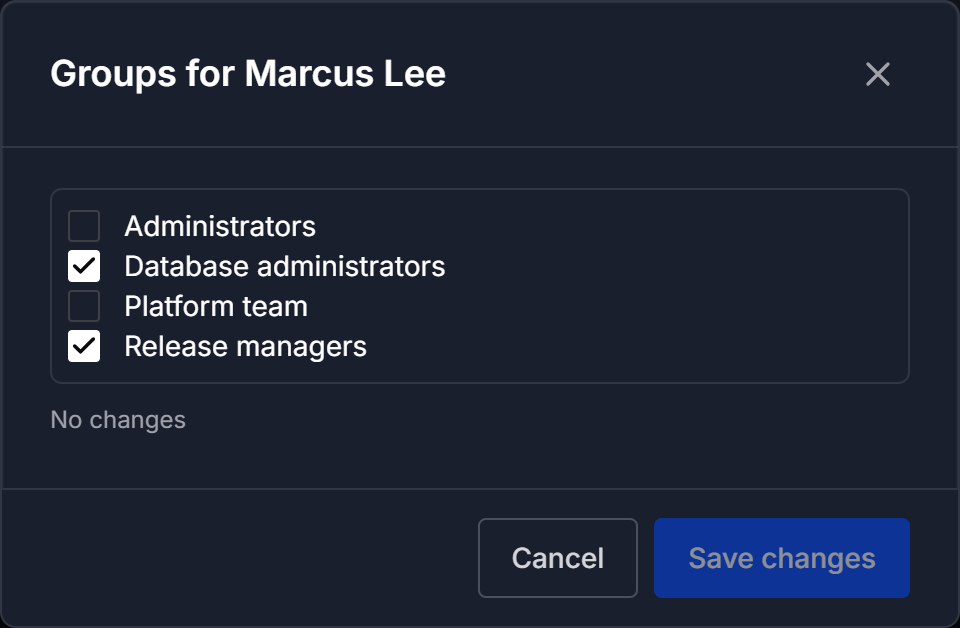
Select Manage next to the user to open their page, then select Manage groups. Select or clear groups and select Save changes.
For a user in the Pending group, you can select Assign to group directly in the user list.
A user's access is the combination of everything their groups grant, plus anything they own and any direct grants made to them on a single entity. Adding a group usually widens access, but a direct deny can name a group, so joining a group that is denied a permission on an entity removes that permission there unless a direct grant restores it. Denies never apply to members of the Administrators group.
Deactivate a user
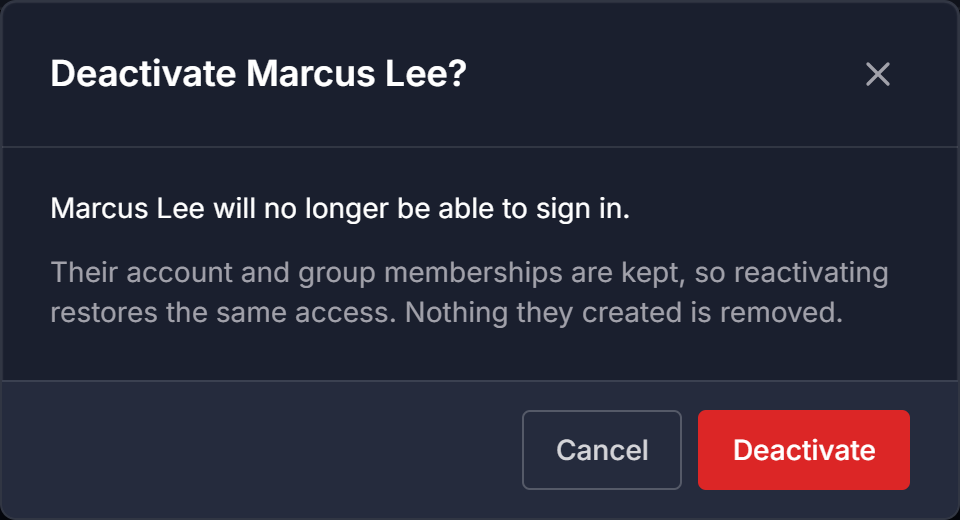
Open the user's page and select Deactivate. The dialog explains that their account and group memberships are kept, so reactivating restores the same access. Select Deactivate to confirm.
If the person is the sole owner of anything, the dialog changes to Cannot deactivate and lists the entities blocking it. The blocking list is not a dead end. Each blocked entity carries a Transfer to selector, so you can pick a new owner for every entity in the same dialog. The action stays disabled until each one has a new owner.
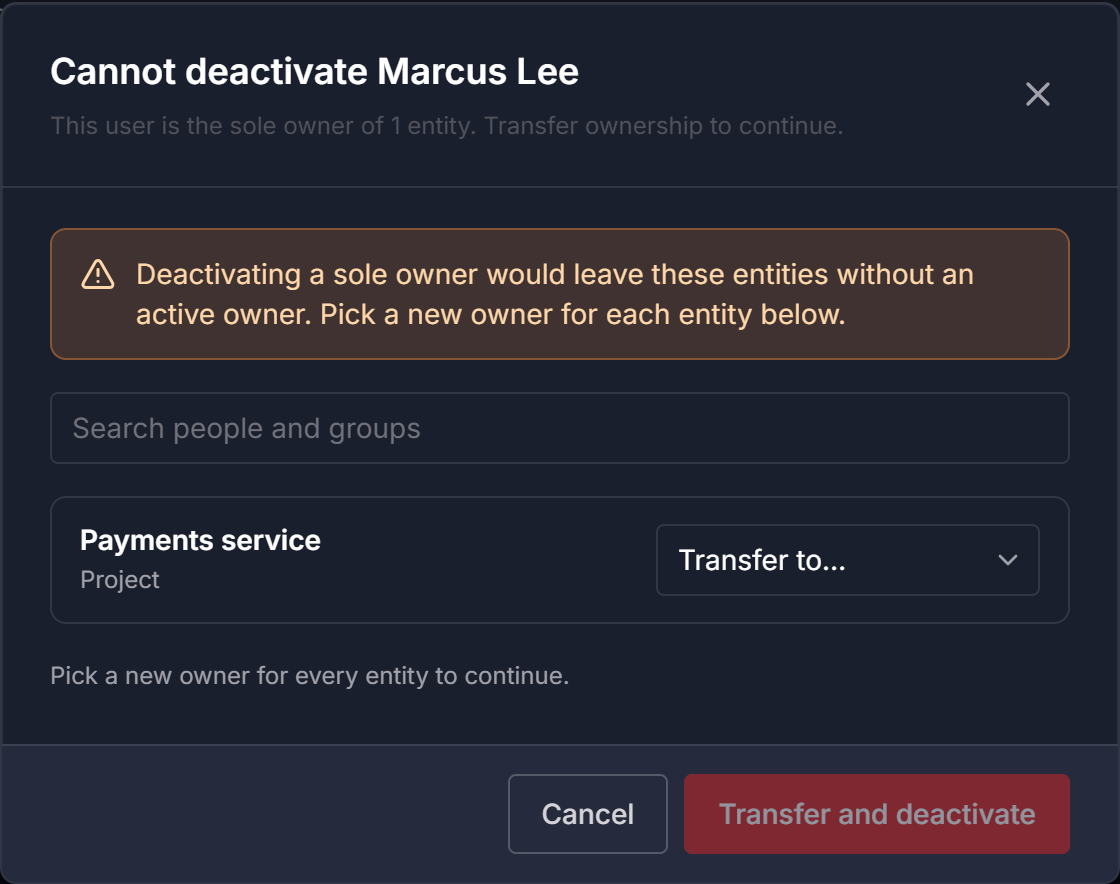
Select Transfer and deactivate to reassign the entities and complete the deactivation in one step.
Catalogs, packages, checks, and assignments under Govern do not block a deactivation and are not listed in the dialog. They stay in place and still show the person's name. The API keys on their account stop working as soon as they are deactivated.
Note: Permanently deleting a user through the API also revokes the API keys on their account. Their catalogs and packages stay but no longer show a name, and their assignments show Deactivated User. Keys that belong to a service principal keep working, even when the deleted user created them.
Reactivate a user
A deactivated user stays in the list on the Deactivated tab and can be reactivated from there.