- Concept
- Version · 6.0
- Govern
Set up Change Governance for your team
Last updated: September 29, 2026
Change Governance has two main aspects, Policies and Assignments, under Govern in the left navigation. You build your library in Policies, map it to what it governs in Assignments, and run the result from the Liquibase Secure CLI. This page takes you from an empty library to one run you can read. How the pieces fit together, and the full data flow between the server and the CLI, is on What is Change Governance?.
What you need
Liquibase Secure server is running and you can log in.
Liquibase Secure 6.0 or later is installed on the machines that run
checks run.A service principal token for the CLI. In the left navigation, open Service Principals, create one scoped to the projects your assignment covers, and use its token as
liquibase.platform.apiKey.The CLI can reach the server. Set
liquibase.platform.apiUrlandliquibase.platform.apiKeyinliquibase.properties, or setLIQUIBASE_PLATFORM_API_URLandLIQUIBASE_PLATFORM_API_KEYin the environment. If you already report operations to the server, you have these.
Bring your policies into the library
Govern > Policies opens Manage All Catalogs, which lists every catalog and marks the read-only Liquibase Default Catalog. What is in the Liquibase Default Catalog? lists every package and check it ships with. Whether you already run policy checks from a checks settings file, or you are adding them for the first time, decides how you fill your first catalog.
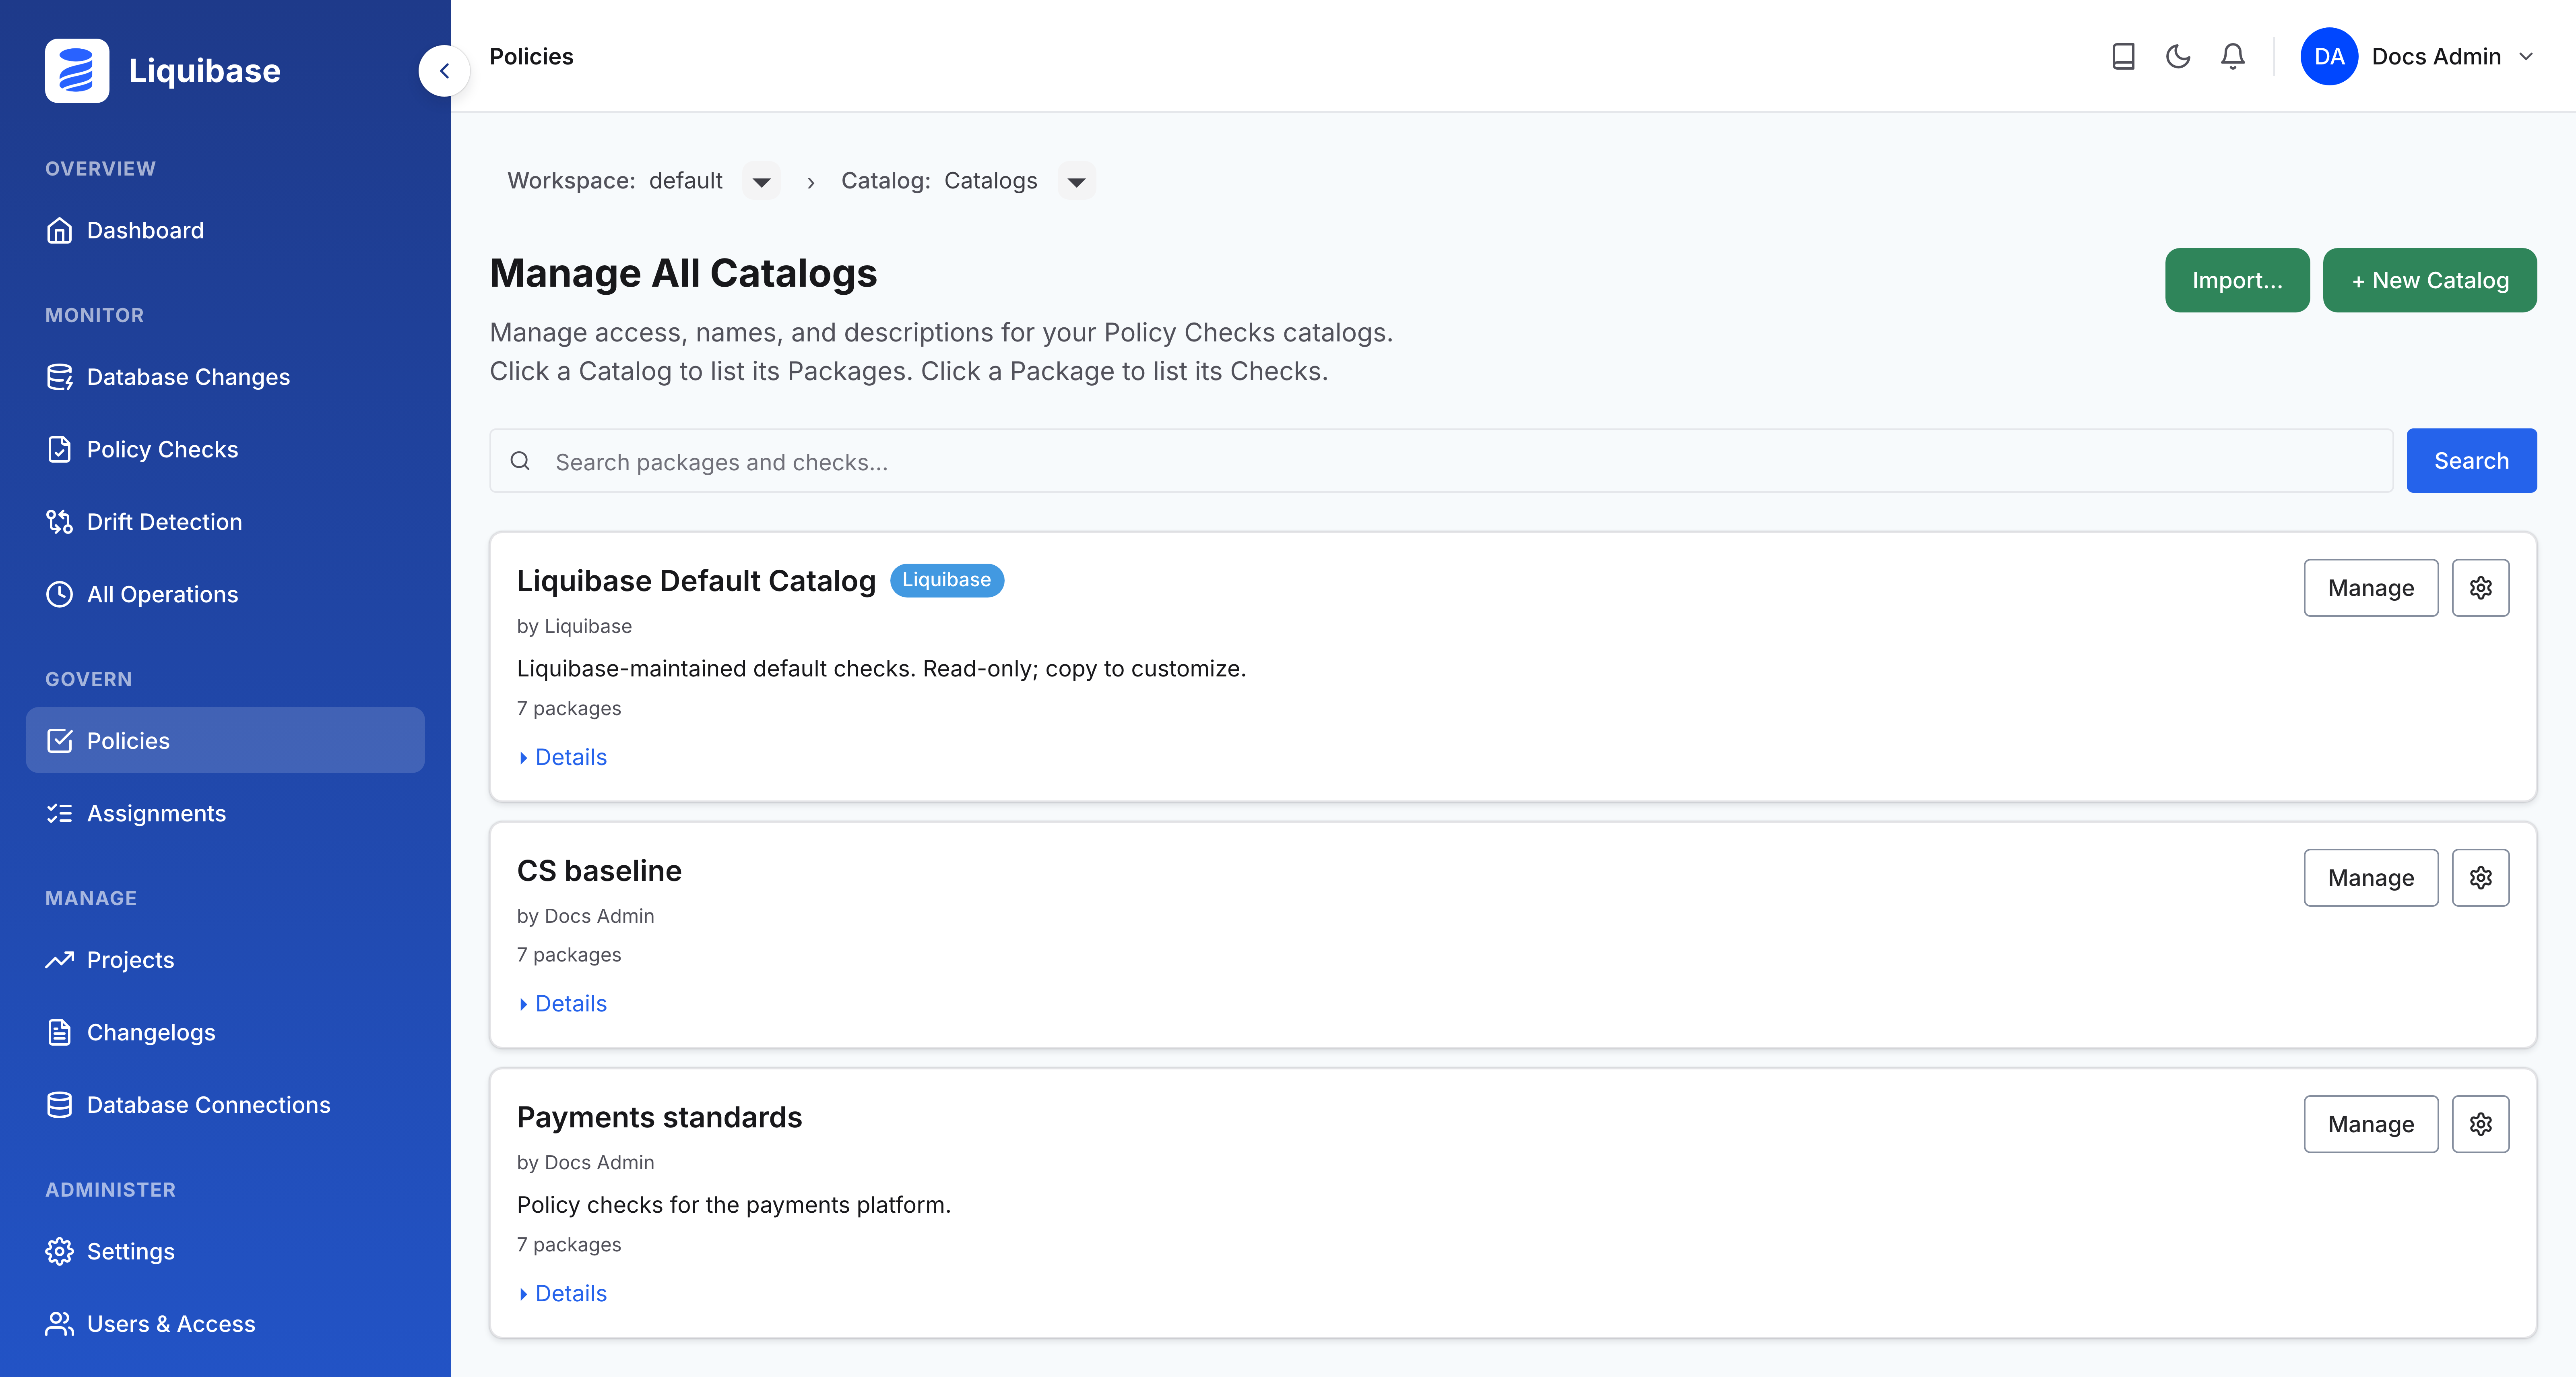
In Manage All Catalogs, choose Import….
Drop in your
liquibase.checks-settings.conf. If it links other files, or you are importing a package file, bundle it first withliquibase checks export --checks-settings-file=<your file>, which writesliquibase-checks-export.zip, and drop that in instead.(Optional) Rename the catalog. The import names it after your file and the moment it ran. In Manage All Catalogs, open the catalog's gear menu, choose Edit Catalog, set the Catalog name, and choose Save.
You land on the new catalog's packages, one per check category, and every check keeps its parameters, its enabled state, and its severity, so a file you have already tuned arrives tuned. Import your existing policy checks covers custom Python checks, targeting rules, and files last written by Liquibase 4.21 or earlier.
Copy whole packages from the read-only Liquibase Default Catalog into a catalog of your own. Do not assign the default catalog directly. Its checks are read-only, so you could never raise a severity or set a parameter on what you assigned.
In Manage All Catalogs, choose + New Catalog, name it, and choose Create catalog. Then choose Manage on the new catalog.
Choose Copy checks into this catalog to get started, set Source to Liquibase Default Catalog, and select Authorization and Access, Data Protection, Metadata Content, and Scripting Standards. Those four flag a risky statement and pass a well-formed changeset silently.
Confirm with the button at the bottom, which names the count and your catalog, for example Copy 4 packages into Payments standards.
Every check in the default catalog ships at the lowest severity, so your first run reports and blocks nothing. A few of the copied checks flag nothing useful until a value is set, such as a row threshold, and Tune your policy checks shows which ones to switch off first and when to switch them back on. Organize checks and packages covers building a package check by check.
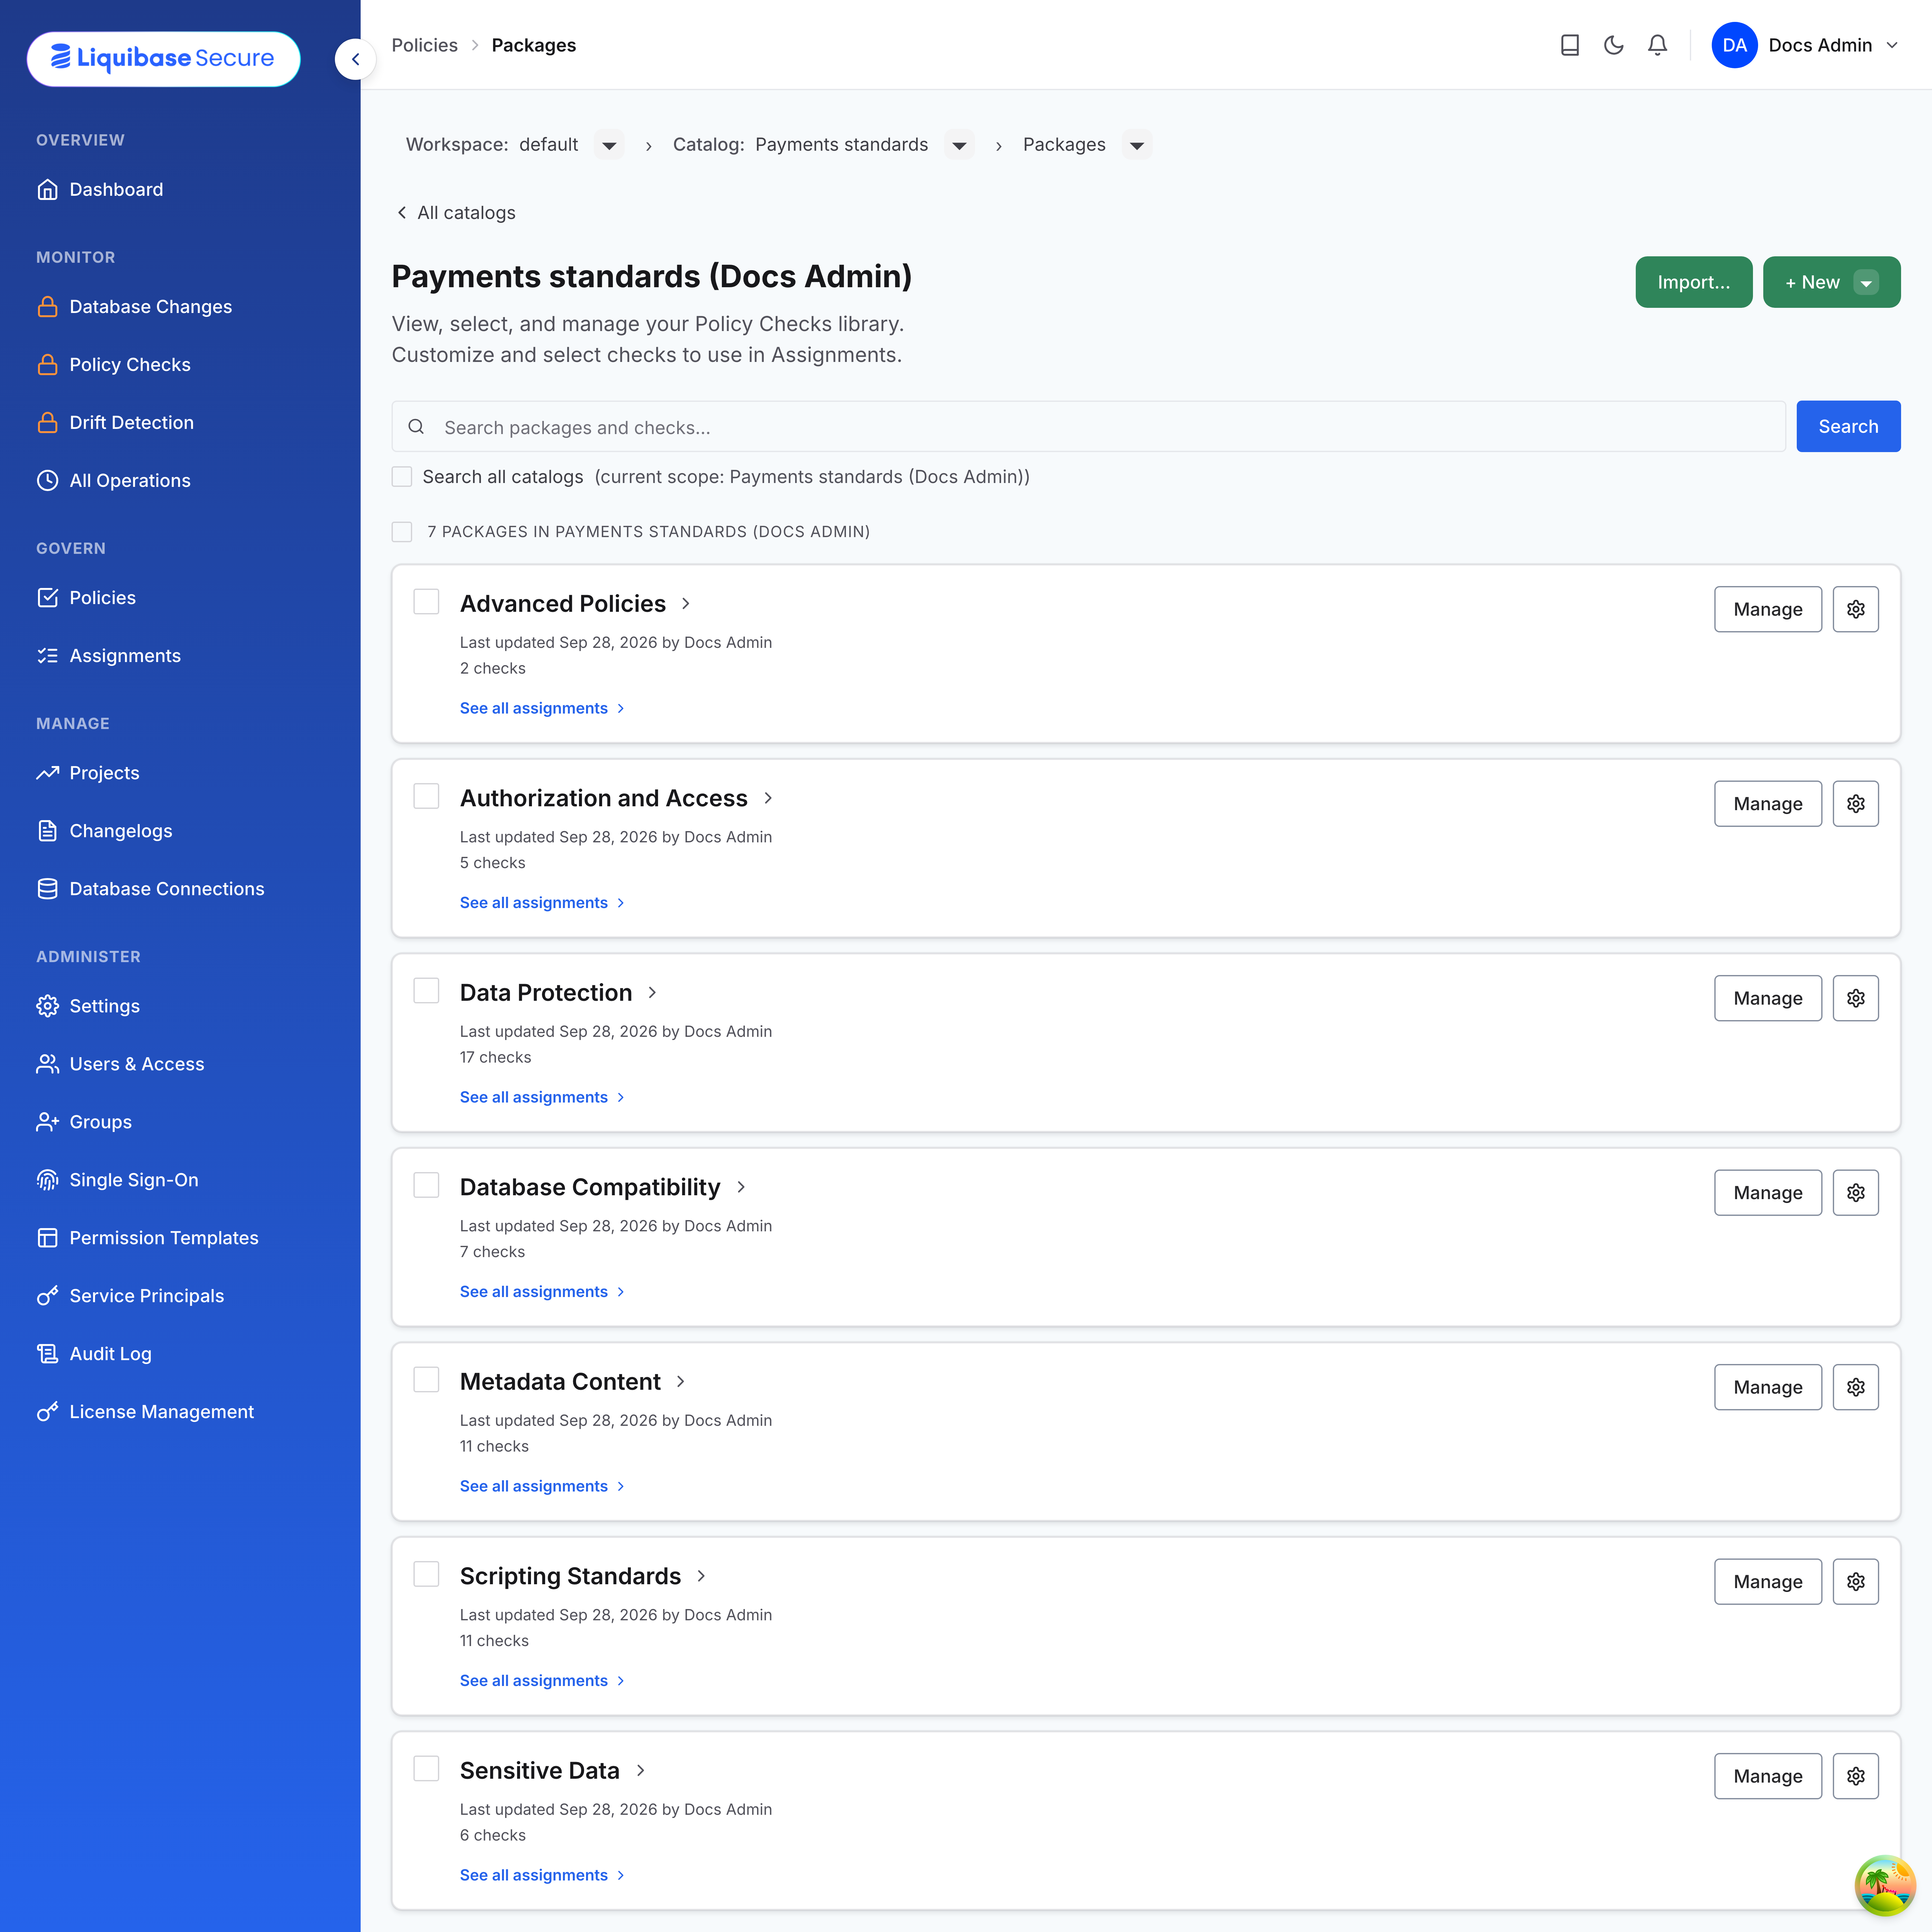
You now have a catalog of your own that you can edit. Nothing is enforced yet. That happens when you assign it.
Assign the package to what it governs
This is the step that puts a policy in force. Until a package is in an assignment, it sits in the library and governs nothing. An assignment maps packages to the assets they govern, such as changelogs and database connections, and generates the assignment ID your pipeline uses.
Note: Choosing Assign only stages your selection. Nothing is enforced until you save the assignment.
To assign policies:
In Assignments, choose + New Assignment, give it a name and a description, and choose Create Assignment. It starts empty.
In Policies, open a catalog of your own and select the packages or checks you want, then choose Assign. To pick individual checks rather than a whole package, open the package first and select the check rows you want.
You land on the assignment list. Below the Search assignments bar, find the assignment you created and choose Manage on it.
Under Packages and checks in this assignment, review what came across. Expand each package and confirm the checks you want enforced are enabled.
Scroll to Project and Pipeline Assets and select the projects, pipelines, database connections, and changelogs the assignment covers. Assets your groups have not been granted appear dimmed and cannot be selected.
Choose Save Assignment, then Confirm & Save.
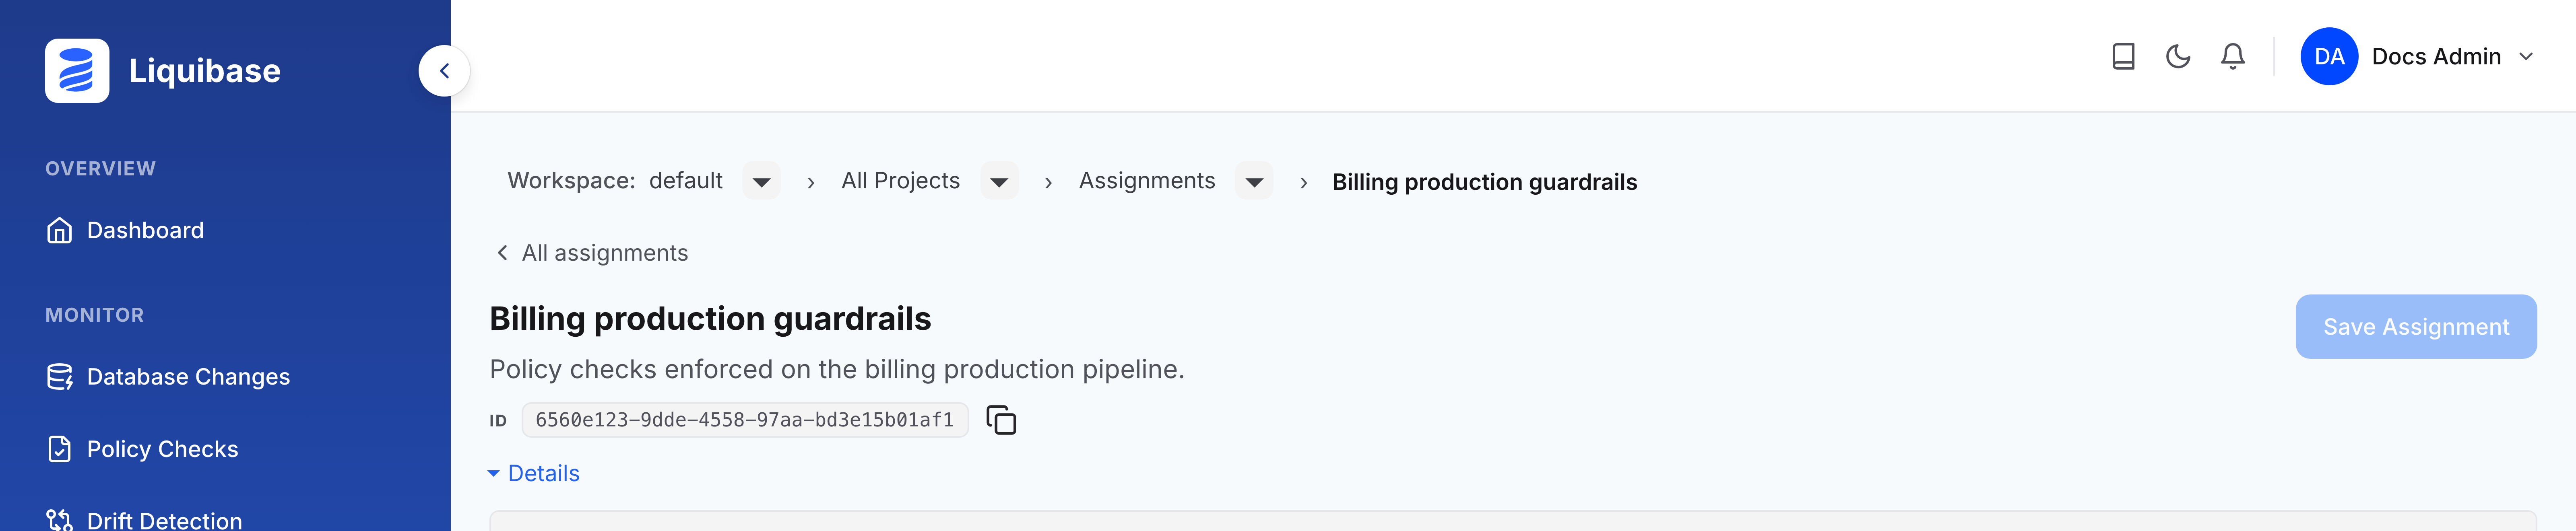
Define policy assignments covers the full flow, including how selecting one check brings its whole package with the other checks disabled.
Point your pipeline at the assignment
Checks still execute in the Liquibase Secure CLI. Put the assignment ID next to your pipeline's server settings, and run the same commands you run today.
Note: When both an assignment ID and a checks settings file are present, the assignment wins and the file is ignored, so an existing pipeline keeps working while you switch.
Pass the assignment ID the way your pipeline already carries configuration.
liquibase.properties: the example above.
Environment variables:
LIQUIBASE_COMMAND_CHECKS_RUN_ASSIGNMENT_IDandLIQUIBASE_COMMAND_CHECKS_SHOW_ASSIGNMENT_ID.Command line:
--assignment-id, with several IDs separated by commas to run several assignments at once.
Run checks with a policy assignment covers the command, its scopes, and its errors.
Run checks and read the result
Run liquibase checks run as you do today, with the assignment ID in place. The CLI asks the server for the checks behind the ID, executes them against your changelog, and prints the checks table, one row per check that fired, with its severity and message. Every check is at INFO on a first run, so the command returns exit code 0 and nothing is blocked. If the server cannot be reached, the run fails with an error naming the URL it tried, and you can fall back to --checks-settings-file for that run.
Note: checks run inspects changelogs only unless you pass --checks-scope=changelog,database. Run policy checks explains which checks need which scope.
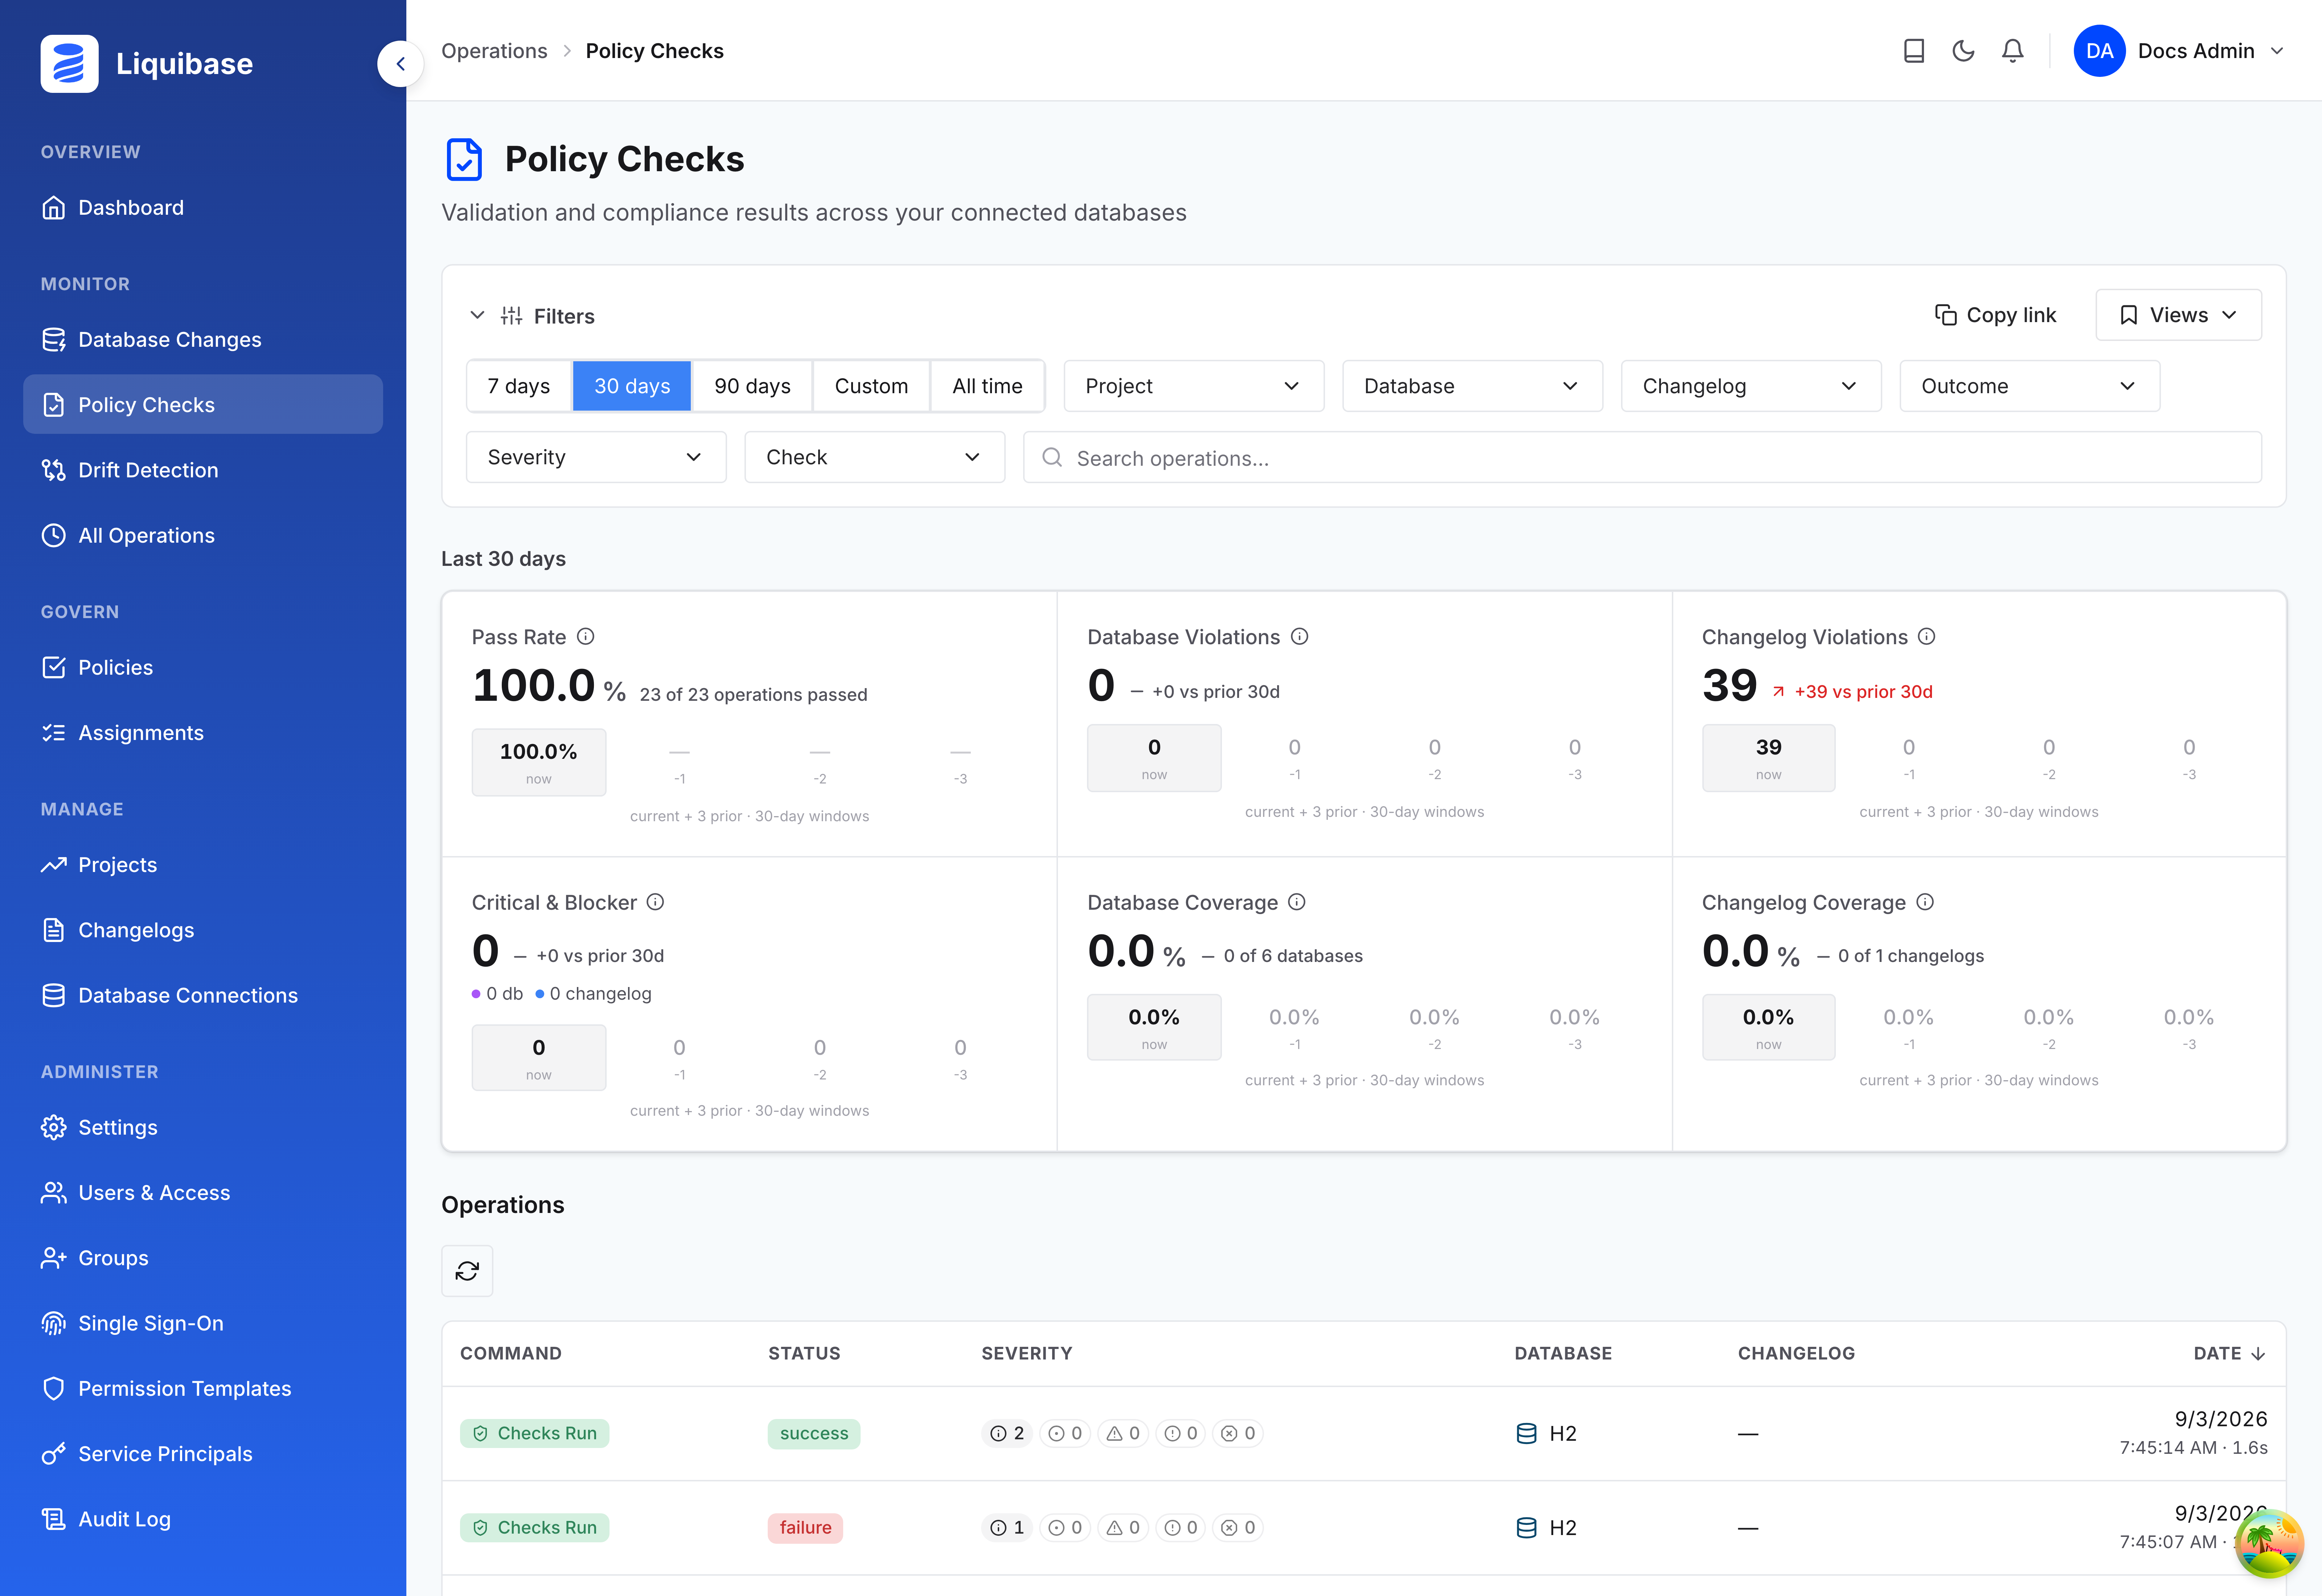
If you report operations to the server, the run also appears on the Policy Checks dashboard under Monitor, with a count at each severity and whether it passed. Understand policy outcomes covers how severity, exit codes, and status relate.
What to do next
You have run checks from an assignment and read the result. Tune your policy checks is where you decide which checks to switch on or off, set their parameters, and add rules of your own. When a check has earned your trust, set its severity so the pipeline stops on it.